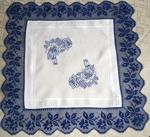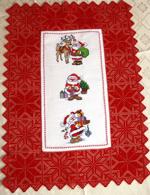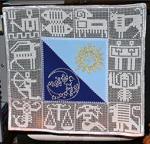

You will need a 9" x 11" piece of cotton or linen cloth (we used 14-count Aida), water-soluble Vilene stabilizer and 60-weight cotton embroidery threads. The finished size of the doily is about 8" x 10".
Step One: Embroider the fabric insert first, then set it aside.
Before proceeding to step two, please read the General Guidelines and Step-by-Step Guide to Embroidering our Crochet-Style FSL designs.

Step Two: Embroider design #1 four times.
Embroider design #2 two times.
Embroider design #3 two times.
Trim the stabilizer close to the designs, leaving at least 3/4" around each design. DO NOT dissolve the stabilizer now.

Please read the Step-by-Step Guide to Assembling crochet-style FSL Designs into a Project first.
Step Three: Lay out the FSL patterns in accordance with the photo above and start stitching.
Working clockwise, start a corner (design #1) and stitch the first design #2 to it.
Stitch the second corner to the design #2.
Stitch the first design #3 to the second corner.
Stitch the third corner to the first design #3.
Stitch the second design #2 to the third corner.
Stitch the forth corner to the second design #2.
Stitch the second design #3 to the forth and to the first corner. You'll close the chain and get a rectangle lace frame.
Stitch the lace rectangle frame to the fabric.

Step Four: You can now go ahead and dissolve the water-soluble stabilizer. Place the doily into a bowl of warm water; change the water several times. So that the doily dries evenly, spread it on a flat surface and let it air dry. Then iron with steam.


 |
|
 |
|
 |
|