A greeting card with a balsa wood cover has a unique rustic appearance that makes it stand out immediately. It's a great keepsake for whoever receives it. We used the embroidery design Midsummer Strawberries to give our greeting card some seasonal flavor.
For this project we used sheets of 1/8" thick balsa, card stacks, glue and self-adhesive tear-away stabilizer.

Step One: Cut out a piece of 1/8" thick balsa measuring about 5 1/2" x 7 1/2". If you can't find balsa sheet wider than about 5", you can use two narrower sheets side-by-side.
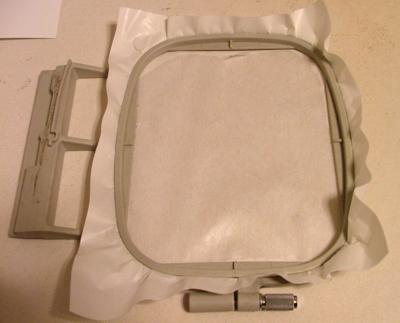
Step Two: Hoop the self-adhesive stabilizer. Remove the paper which covers the sticky side inside the hoop. Stick the piece of balsa onto it. If you are using two pieces of balsa, make sure there is no space between them.

Step Three: Embroider the design. Use 75/11 needles and embroidery rayon or polyester threads.
Step Four: After the embroidery is finished, cut away the excess stabilizer. Measure your card stack and mark the same measurements on the balsa piece.

Either with sharp scissors or a rotary cutter, cut out the balsa card.

Step Five: Apply glue to the card stack.

Press the balsa piece onto the glue. Leave under a weight for some time until the glue dries.

The card is ready. Enjoy!

We hope that you liked our idea and will come up with many of your own.