|
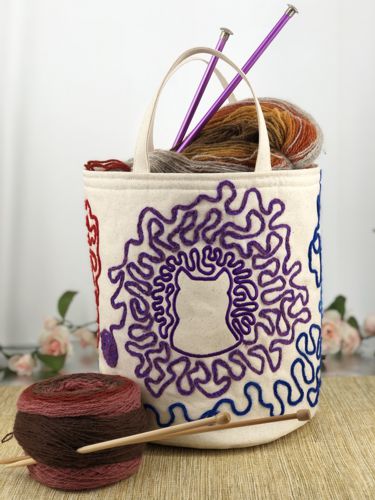
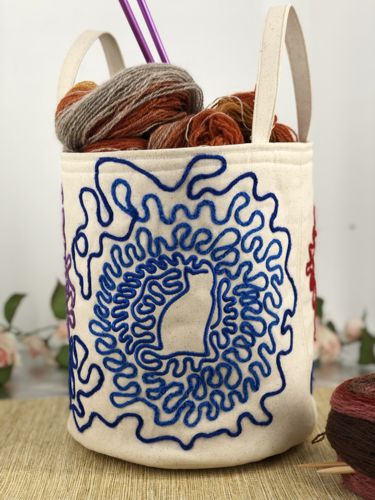
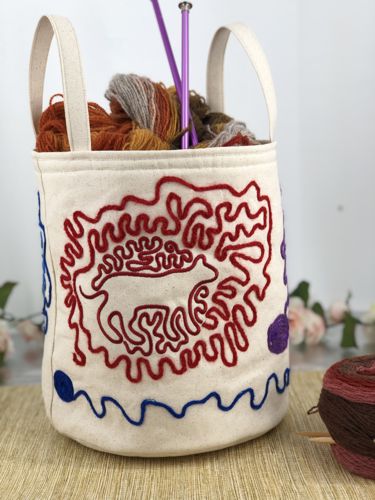
In this tutorial, you’ll learn how to sew a cloth basket perfect for storing yarn or other craft supplies. It is a simple yet functional project that's great for organizing your space while adding a creative touch. We used designs from the Yarn Cat Set. All designs are for large, 5" x 7", hoops.
The finished size of the basket is about 11" in height and 19" in diameter. |
|
You will need :
- embroidery threads,
- about of 1/2 yard of light-colored cotton canvas/duckcloth fabric;
- about 1/2 yard of cotton fabric for the lining;
- about 1/2 yard of polyester craft felt.
|
You will also need:
|
- quilter's ruler;
- rotary cutter and/or scissors;
- tailor's colored chalk pencil or disappearing fabric marker;
- iron;
- #12 universal needle, and sewing thread;
- #16 univeral needle and extra strong thread;
- 2-3 yards of worsted weight yarn in colors of the embroidery;
- a plate of 10"- 10 1/2" in diameter;
- printer (optional).
|
| Making the bottom of the basket |
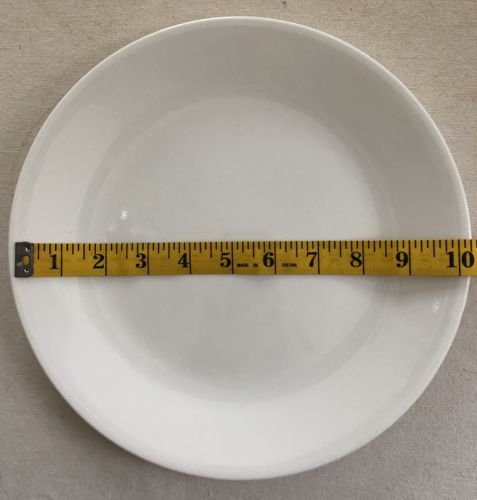
| Prepare the plate. We used a Corelle plate 10 1/4" in diameter. |
|
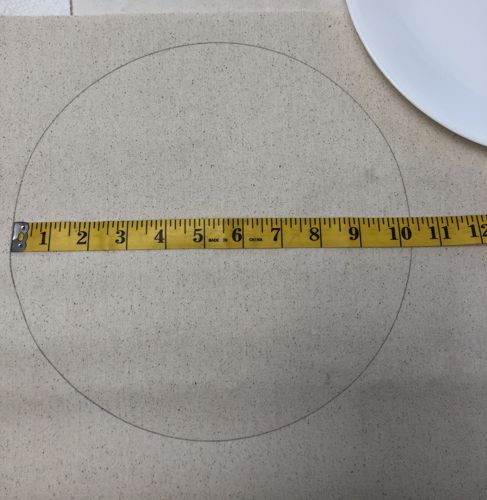
| Place the plate on the canvas and trace. DO NOT cut out! |
|
Trace the plate over the craft felt and cut out.
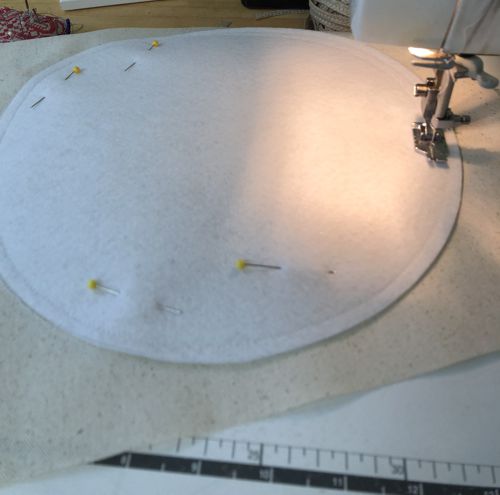
Place the felt circle over the canvas circle. Pin.
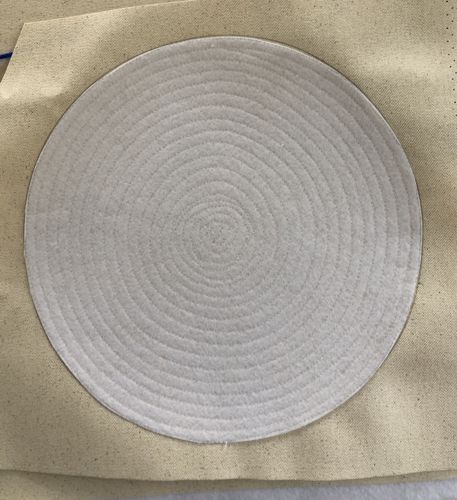
Topstitch the felt circle to the canvas in a spiral line. |
|
| After topstitching it will look like this: |
|
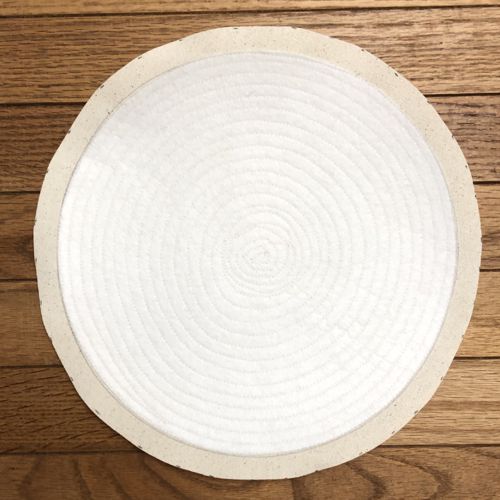
| Cut out the bottom with 1/2" seam allowance. |
|
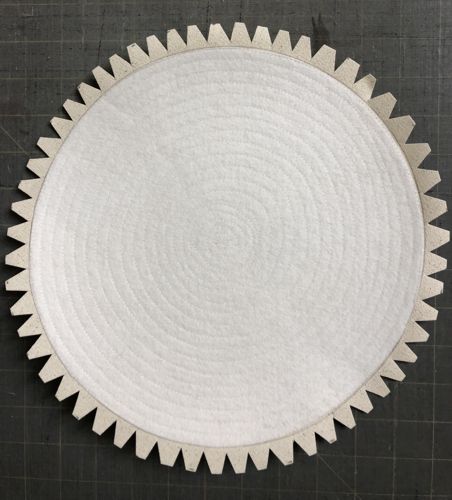
| Notch the seam allowance: |
|
The Side Panel with Embroidery:
|
For the side panel, out of canvas and felt each, cut pieces measuring 13" x 33 1/4".
If your plate has a different diameter, calculate the length of the side panel by the formula: Diameter x 3.14 plus 1" for seam allowance. If you want a basket of a different height, add 1/2" for the bottom seam allowance and 1 1/2" - 2" for the upper seam allowance to the desired height. |
Place the canvas rectangle on the felt one. Felt will work as a stabilizer.
Mark the position of the embroidery.
If you have a printer and embroidery software, print-outs of the designs can be helpful. If you do not, you can cut out rectangles of the same size as the designs and arrange them on the fabric to determine the position of the embroidery.
|
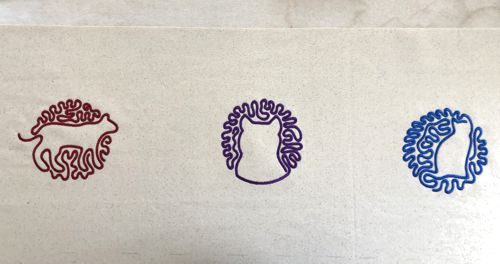
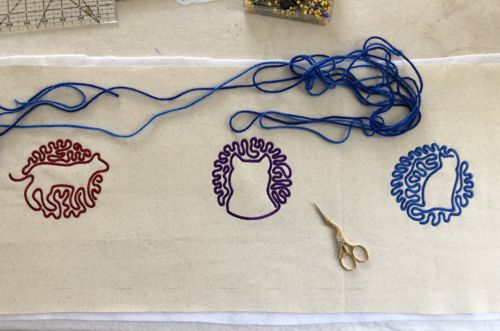
Prepare threads. Upload the files from the Yarn Cat Set into your machine, hoop the fabric with felt tightly and embroider the designs one by one.
|
|
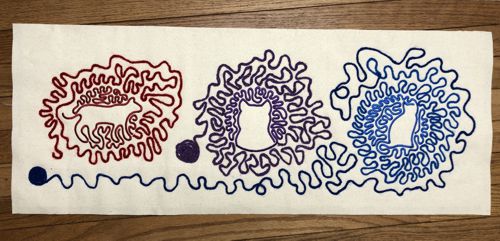
| Using worsted weight yarn in colors of the embroidery, topstitch it over the canvas around each stitch-out in meandering patterns. |
|
|
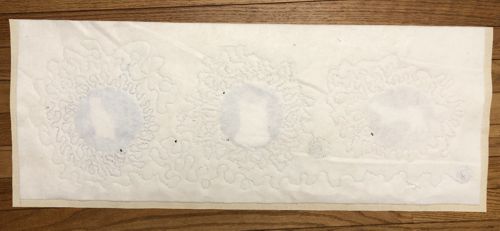
Cut away 1/2" of felt along the bottom and short sides.
Stitch along the bottom with seam allowance 1/2".
Clip the bottom seam allowance, being careful not to cut through the stitches.
Fold the right short side seam allowance back and press, then baste. |
|
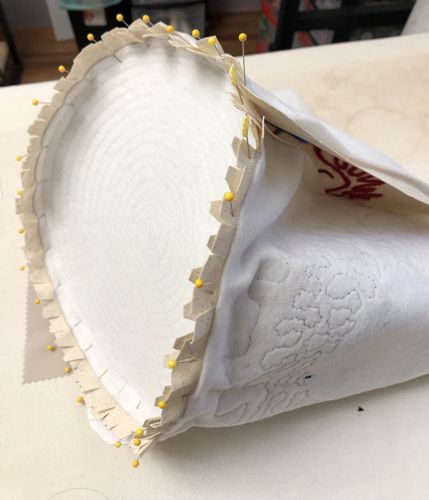
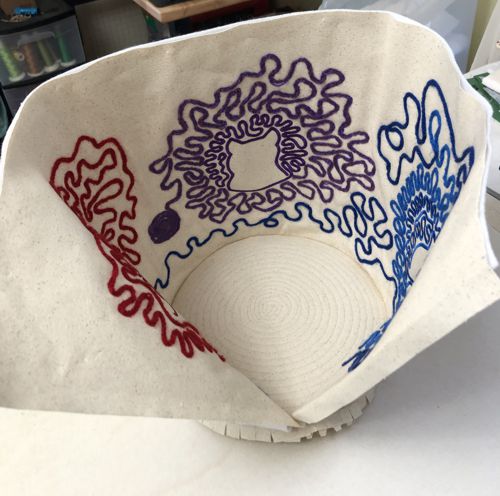
| With right sides together, starting with the folded edge of the panel, pin the panel to the bottom, following the felt edge on the bottom and stitched and clipped lower edge of the panel, seam allowance 1/2". Overlap the unfinished short edge with the folded one. |
|
| Stitch the bottom and panel together. |
|
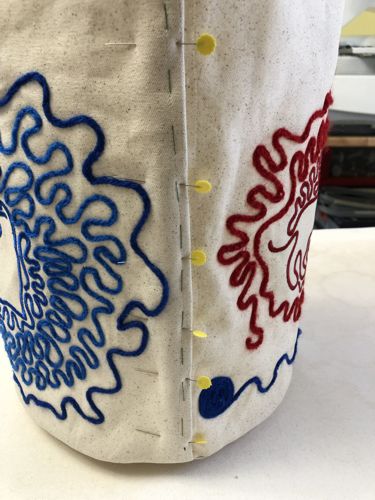
| Pin and baste the short edges of the panel. |
|
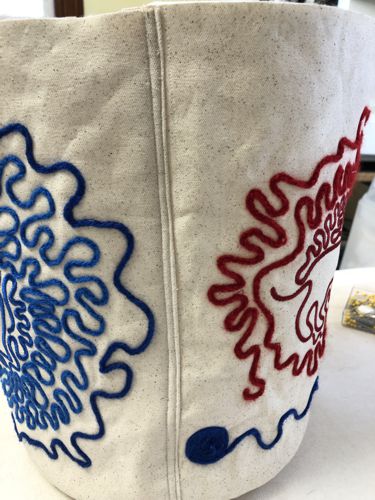
| Topstitch the seam closed. |
|
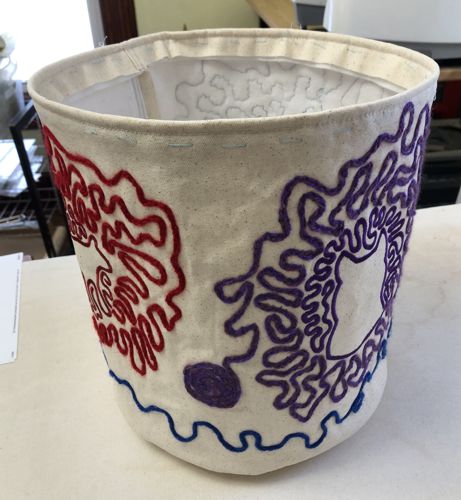
| Fold the upper edge of the basket 1 1/2" - 2" back. Baste. |
|
| Handles: |
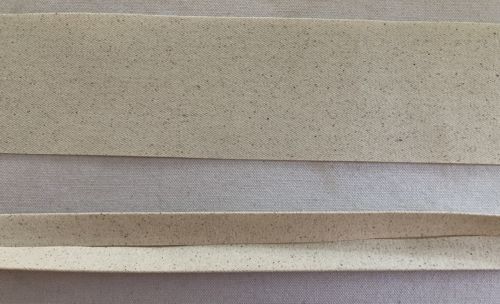
Out of canvas, cut 2 strips measuring 3" x 14" each.
Fold the strips in half lengthwise and press.
Fold the long edges to the creased line. Press. |
|
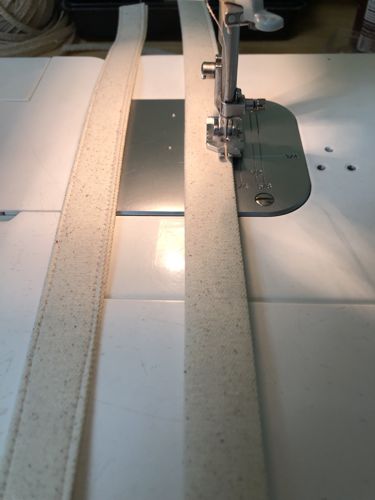
Stitch both long sides 1/8" from the edges.
|
|
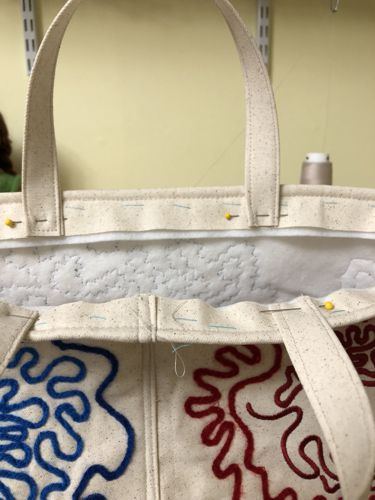
Pin the handles on opposite sides to the basket, aligning the short ends of the handles with the edge of the folded canvas.
|
|
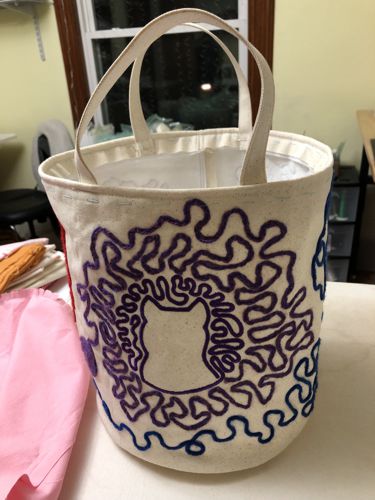
| Stitch the handles to the basket . |
|
Lining:
|
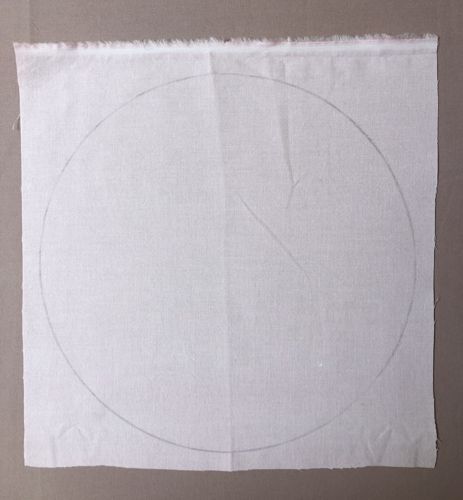
| Trace the plate over the fabric for the lining. |
|
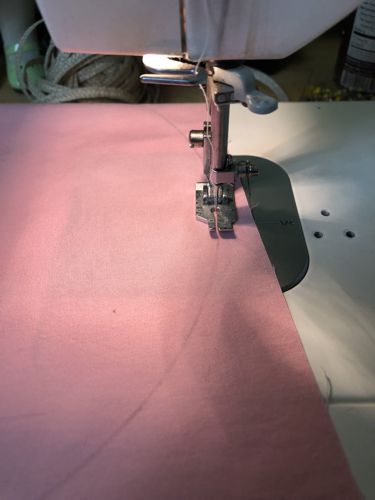
| Topstitch along the traced line. |
|
| Cut the circle out with seam allowance 1/2". Notch the curves. |
Out of the fabric for the lining cut a rectangle measuring 12" x 33".
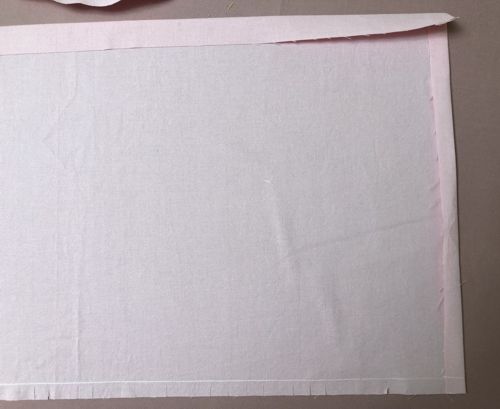
Fold the right short edge of the piece 1/2" back and press.
Fold the upper long edge 1" back and press.
Topstitch along the bottom with seam allowance 1/2". Clip, taking care not to cut through the stitches. |
|
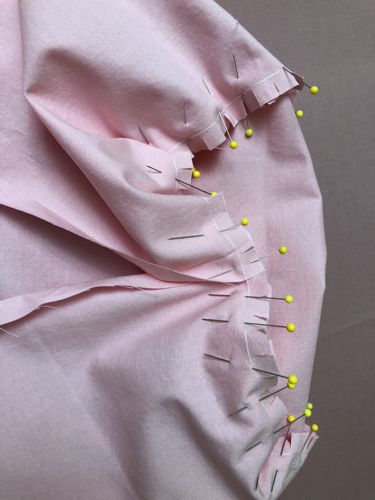
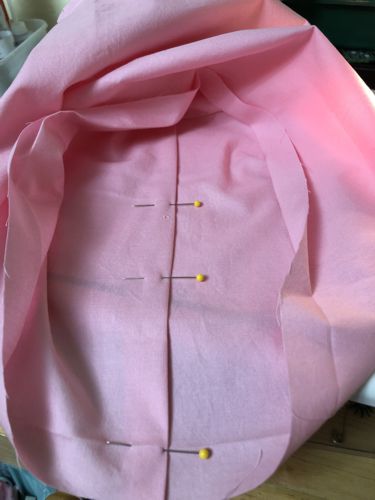
With right sides together pin the bottom and side panel of the lining together, using the stitches as guide lines. Overlap the short sides. Then stitch thebottom and panel together, seam allowance 1/2".
|
|
| Pin the overlaping short edges together. |
|
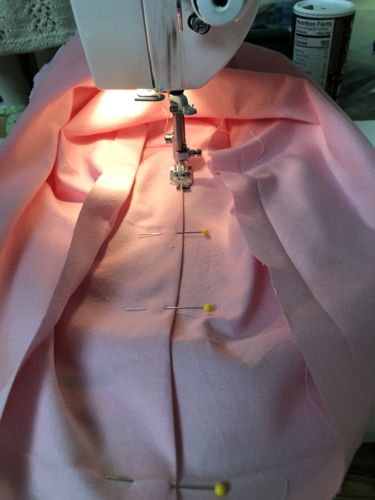
| Topstitch the sides closed. |
|
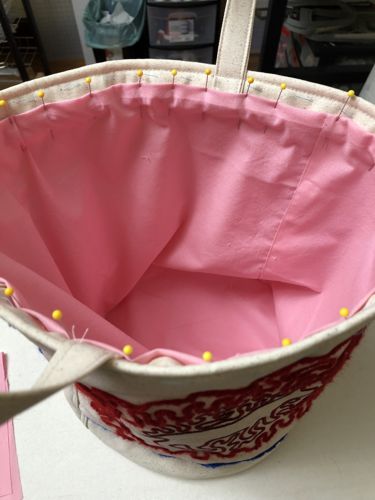
| Insert the lining into the basket. The upper folded edge of the lining should overlap the unfinished edge of the canvas. Pin in place. Then topstitch in place. |
|
| Have fun! |
|
|
|
Back to Yarn Cat Set
|
Back to Projects Page
|
