|
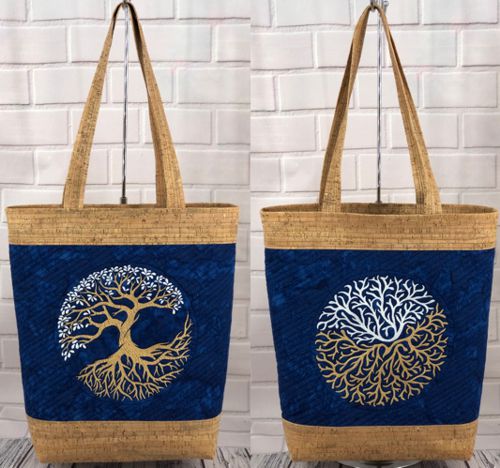
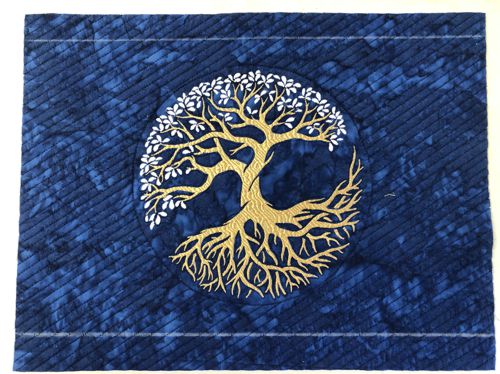
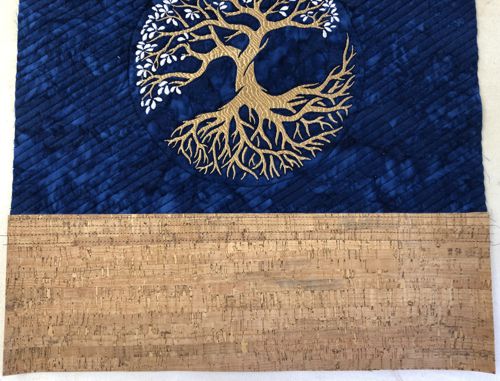
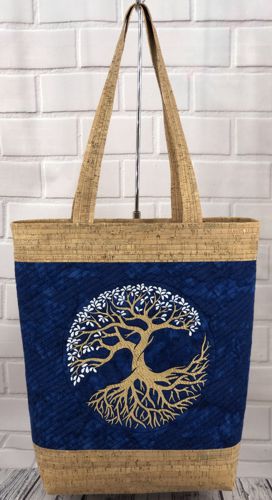
In this tutorial, you'll learn how to sew a quilted tote bag with cork fabric and two eye-catching embroidered panels. One side features a Celtic Tree of Life, while the other has a design that looks like a ball made of tree branches. You'll see how to quilt the panels, add machine embroidery, and assemble the bag. This project is a good way to combine sewing, quilting, and embroidery in one useful item. This cool-looking bag features embroidery of the Celtic Tree of Life on the front panel and the Ball of Branches on the back panel.
The finished size of the bag is about 14 1/2" (wide) x 14 1/2" (high) x 4" (deep).
|
|
You will need :
- embroidery threads either polyester or rayon - the choice of colors is completely up to you;
- dark blue fabric for the central quilted strips with embroidery;
- Meteorite Cork fabric (1/2 yard cut);
- Medium-weight iron-on cut-away embroidery stabilizer;
- polyester craft felt used as a stabilizer for embroidery and batting for quilting;
- fabric for the lining;
- either magnetic closure for the bags, or a 1" square of self-adhesive Velcro tape;
- quilter's ruler;
- rotary cutter, or scissors,
- chalk and graphic pencils;
- iron;
- #12 and #16 universal needles;
- quilting and sewing thread of matching color;
- upholstery tread of matching collor.
|
Embroidery:
|
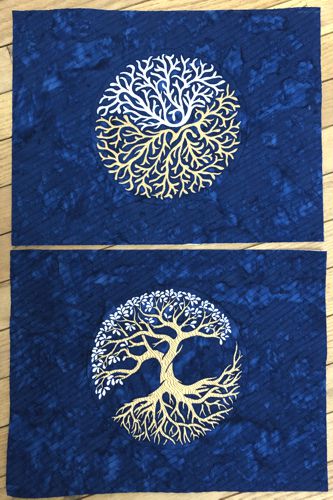
Prepare 2 pieces of dark blue fabric, one for the front and another for the back panels. Stabilize them with polyester craft felt.
Upload the files of the Celtic Tree of Life and the Ball of Branches into the machine. Select thread.
Embroider the designs one by one in the center of the corresponding piece..
Repeat to make another embroidered panel.
After the embroidery is done, press the pieces.
|
| Quilting: |
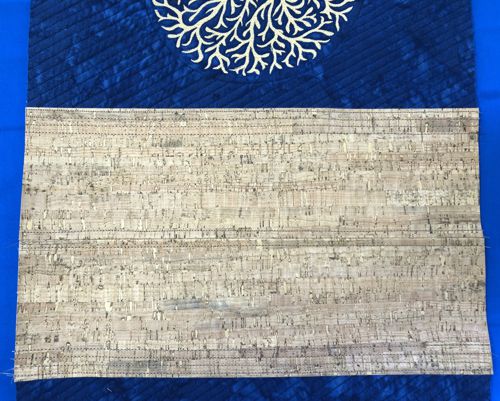
Quilt with matching thread - first around the embroidery, then all over the panels.
Then trim each piece to 2 panels, each measuring 12" x 15 1/2".
|
|
Cutting:
|
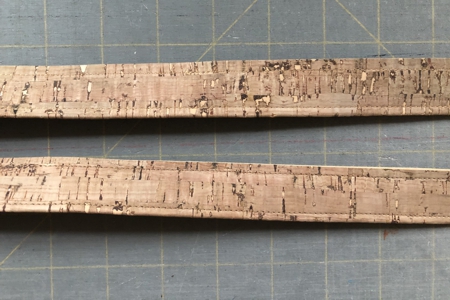
Out of cork fabric, cut
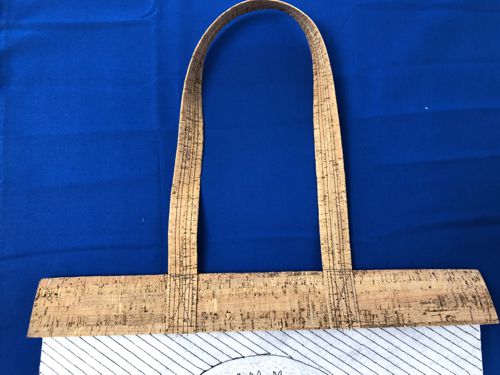
- 2 strips measuring 2" x 27" (handles),
- 4 strips measurimg 5" x 15 1/2" (top and bottom).
Out of fabric for the lining, cut
- 2 pieces measuring 16" x 16",
- 1 or 2 pieces measuring 9" x 9" (for pockets).
|
Handles:
|
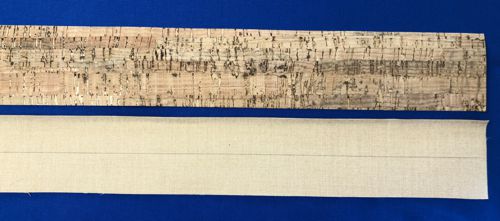
| On the wrong sides of the cork 2" x 27" strips draw a line dividing the strip lengthwise in half. |
|
Fold the long edges 1/2" to the center (to the drawn line), wrong side to wrong side, and press.
|
|
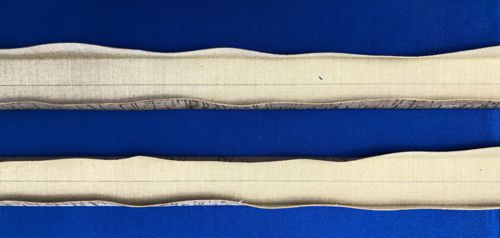
| Top-stitch along the long edges, 1/4" and 1/8" seam allowance. |
|
Assembly of the Panels:
|
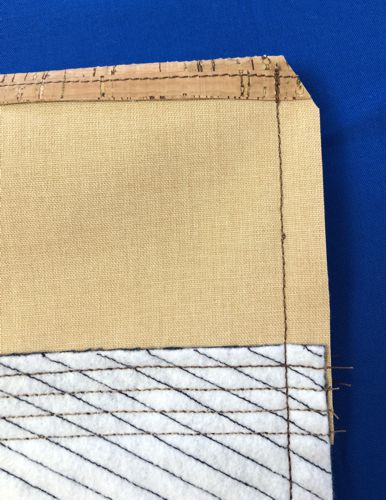
| On the quilted panels, draw lines 3/4" from the top edge and 1" from the bottom edge. |
|
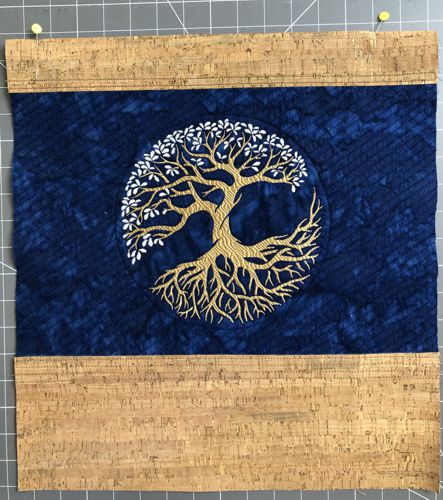
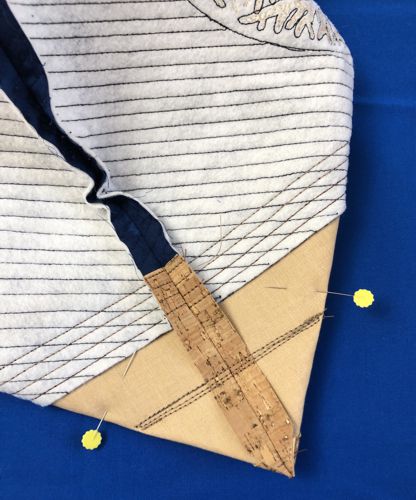
| Position the cork 5" x 15 1/2" strip over the upper edge of the quilted panel. Align the edge of the cork strip with the drawn line on the upper edge of the quilted panel. Pin in place. |
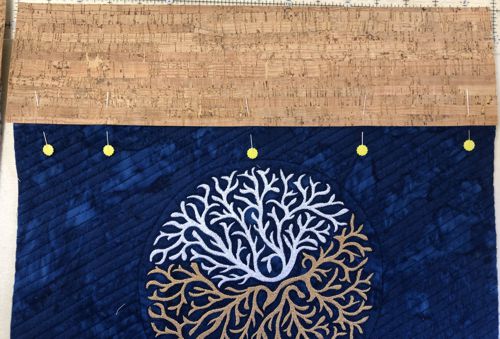
|
Topstitch, seam allowance 1/8 and 1/4".
|

|
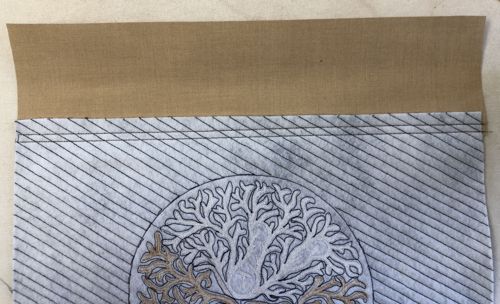
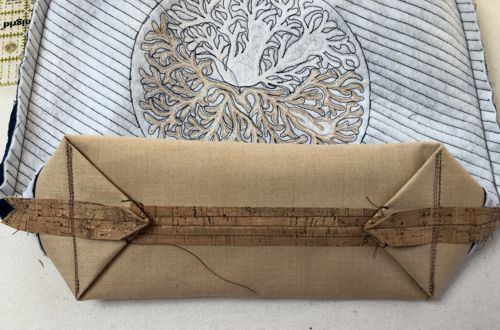
| This is how the working piece will look from the wrong side. |
|
| Repeat for the other panel. |
In the same way, attach the remaining cork strips to the bottom of the quilted panels.
Topstitch 1/8 from the edge, then topstitch 3 more parallel lines with 1/4" distance between them.
|
|
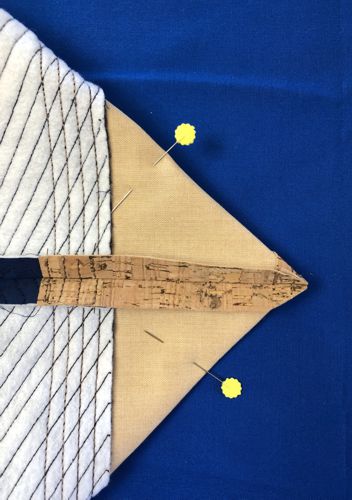
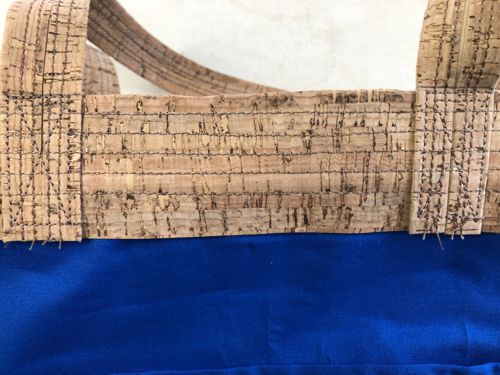
Fold the upper, cork, edge of each panel back in half and press.
|
|
| This is how the working piece looks like from the wrong side. |
|
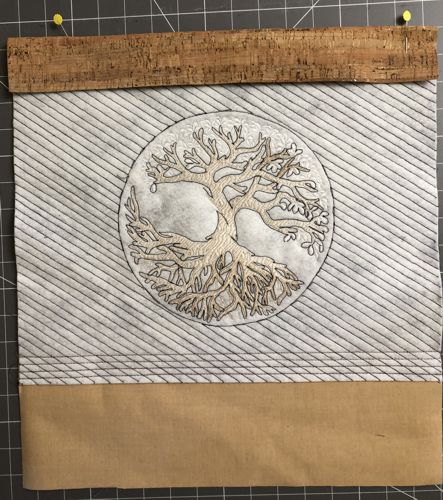
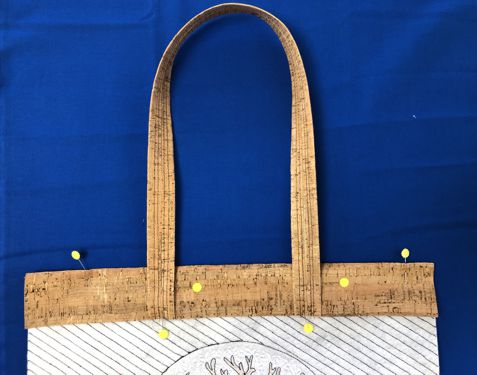
| Unfold the upper edge. Pin the short ends of a cork handle on the upper edge of the panel equal distance from the sides and about 4 1/2" distance between the ends. |
|
Topstitch the handle in place up to the folded crease.
|
|
Repeat for the other handle and panel.
|
Sewing the Bag:
|
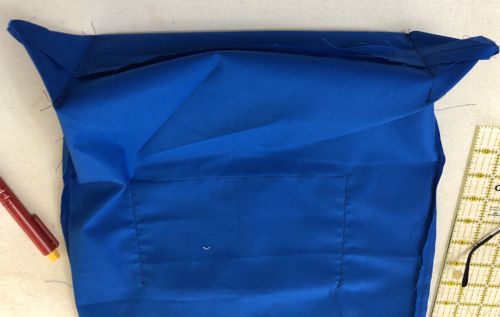
Position the panels face to face, align all edges. Pin.
Stitch the bottom, seam allowance 1/2".
|

|
| Open and press the seam. Topstitch 1/4" on each side of the seam. |
|
Fold the working piece, face inside, align the side edges. Pin. Stitch, seam allowance 1/2".
Trim the corners at the bottom. Press the side seams open. |
|
Shaping the Bottom:
|
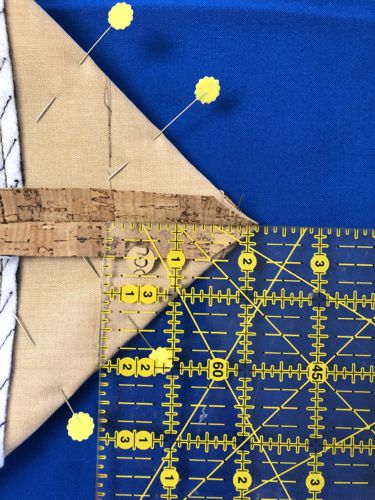
| To make box corners, separate the front and back sides at the corners. Center the seam on the side with the bottom seam. |
|
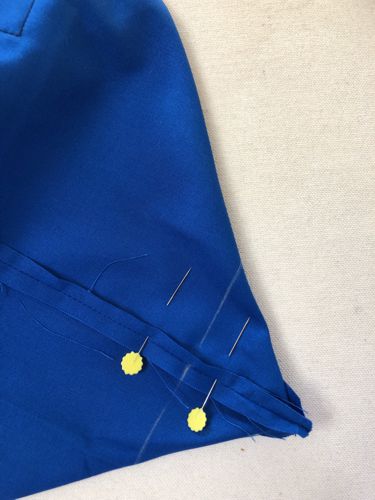
Measure 2" along the seam from the corner. Draw a line perpendicular to the seam across the corner.
|
|
| Machine-stitch along the line several times. Repeat for the other corner. |
|
| Fold the corners to the bottom seam and stitch them to the bottom seam by hand. |
|
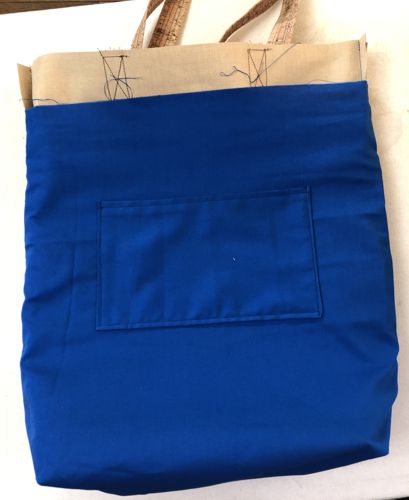
Lining:
|
To make pockets, fold the pocket piece (9" x 9") in half, face inwards. Stitch along 2 sides. Seam allowance for the pocket is 1/4".
Turn right side out. Press. Tuck the raw edges 1/2" inside, press and topstitch.
Repeat for the second pocket.
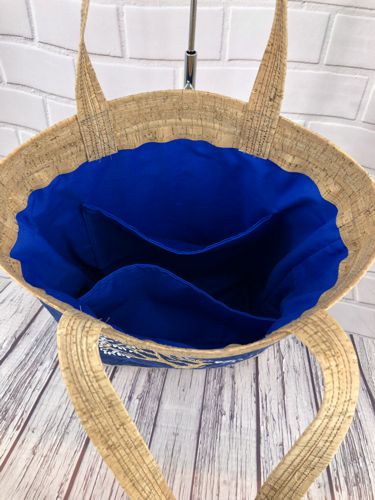
Position the pocket on the lining piece, about 5" from the upper edge and equal distance from the sides. Pin.
Topstitch along the side and bottom edges in place.
|
Position the lining panels, face inwards. Align all edges.
Stitch the bottom, open and thress the seam, then stitch the sides, open and press the seams. The seam allowance is slightly less than 1/2".
|
Make box corners in the same way as described for the outer bag.
|
|
|
| Fold the corners to the side seams and sew them to the side seams by hand. |
Finishing:
|
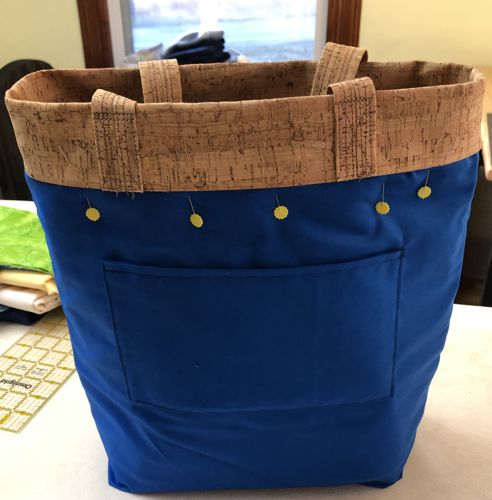
With wrong sides together, insert the outer bag into the lining. Align the side edges. Lift the folded upper edge and tuck the lining under it up to the creased line.
|
|
Fold the upper edge of the outer bag back. Pin in place.
|
|
Topstitch along the upper edge, seam allowance 1/4". Then topstitch 5 more parallel lines.
|
|
Turn the bag right side out.
|
|
| You are done! Have fun! |
Front view of the bag with Celtic Tree of Life embroidery.
|
|
| The back view of the bag with Ball of Branches embroidery. |

|
|
|
|
Back to Celtic Tree of Life or Ball of Branches
|
Back to Projects Page
|