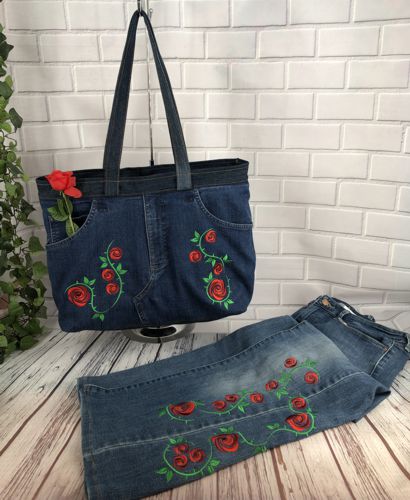
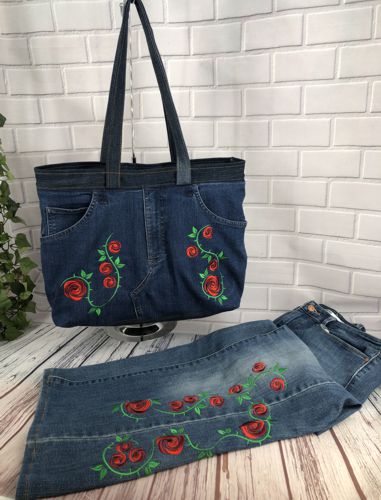
Give your old jeans new life! This tutorial will guide you through converting an old pair of jeans into a tote bag. You’ll learn how to work with denim, place embroidery designs, and construct a sturdy bag. It’s a great way to upcycle and create something stylish and useful.
We used designs from the Thorns and Roses Set.
|
|
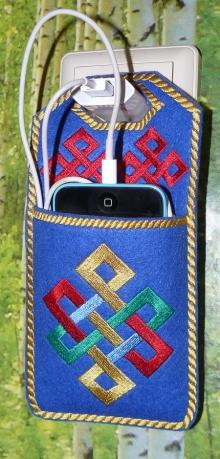
| You can read about how to embroider a pair of jeans in our projects Jeans Embellished with Flower Embroidery or Old Jeans and Blouse Make-Over in the Clothes Section of our website. |
|
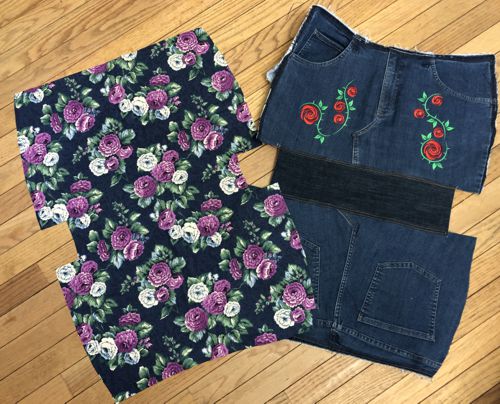
| The finished size of the tote bag is about 17" W x 12" H x 4" D. Please note that the size of the tote depends on the size of the jeans. We used a pair in size 12. |

|
For the tote you will need :
- embroidery threads,
- light-weight cut-away stabilizer;
- a pair of old jeans;
- about 1/2 yard of cotton fabric for the lining;
|
You will also need:
|
- quilter's ruler;
- rotary cutter and/or scissors;
- tailor's colored chalk pencil or disappearing fabric marker;
- iron;
- #16-18 universal or jeans needle;
- jeans sewing thread;
- sew-on snap 1/2" large;
- printer (optional).
|
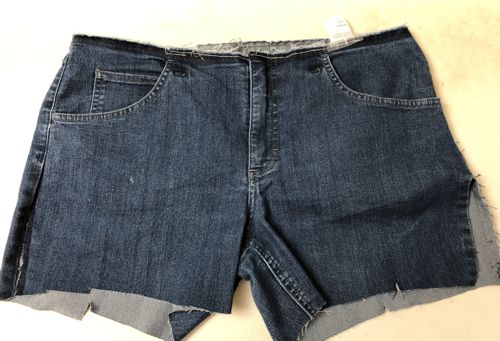
| Preparing the Jeans: |
Wash and dry the jeans.
Cut away the pant legs leaving an inseam of about 5".
Rip the belt and zipper out, rip the inseam and side seams. |
|
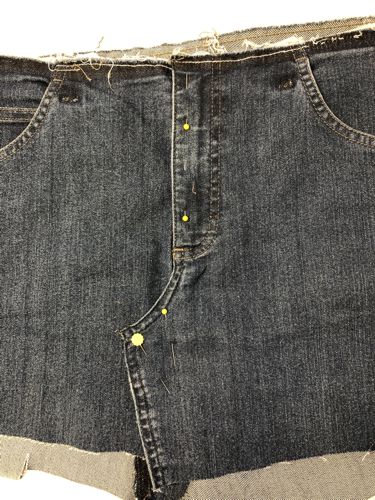
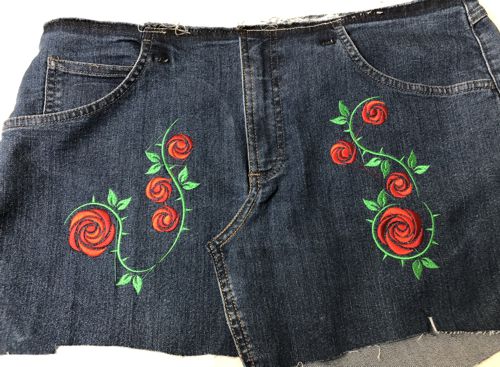
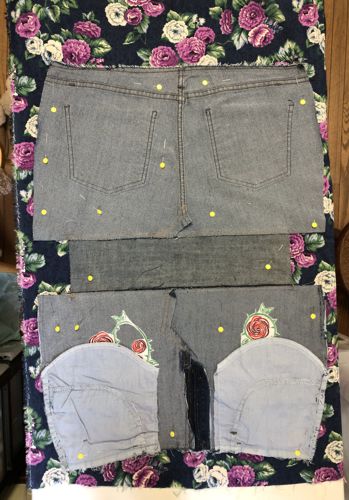
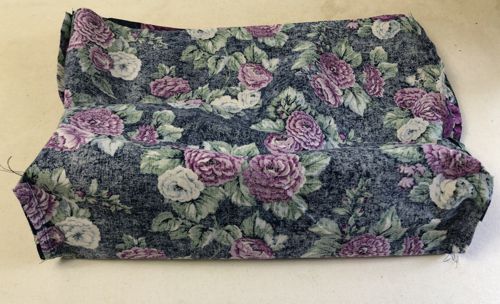
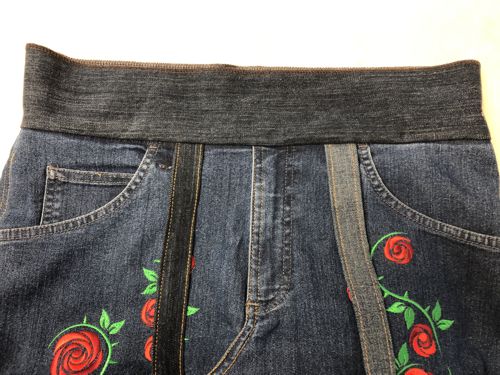
| Working with the front, fold and pin the fabric so it lays flat. |
|
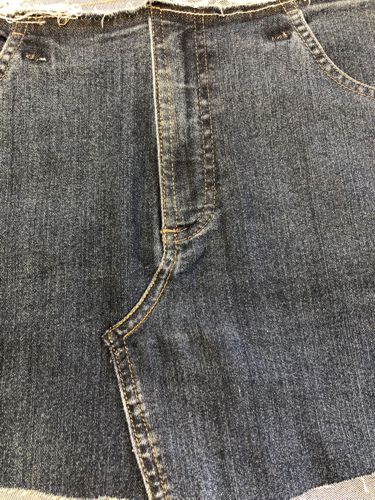
| Following the prints of the old seams, topstitch the pieces together. Then cut away the excess fabric from the wrong side. |
|
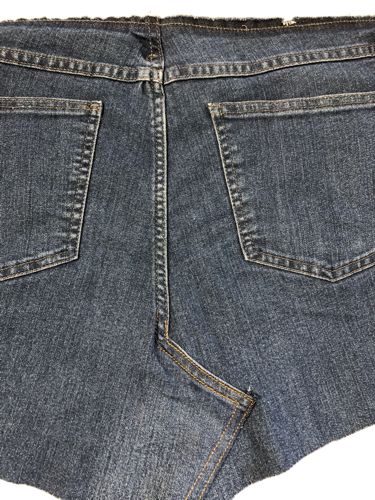
| In the same way, prepare the back of the jeans. |
|
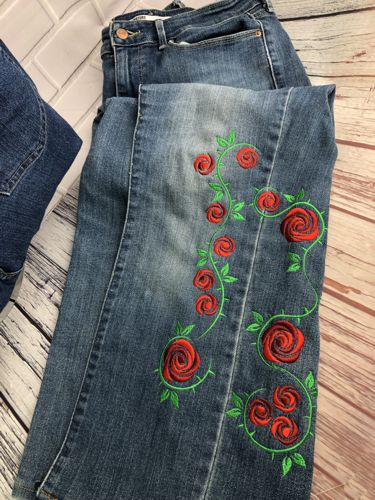
Embroidery:
|
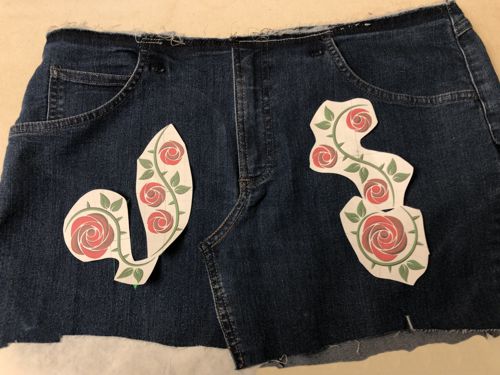
Mark the position of the embroidery on the front. If you have a printer and embroidery software, print-outs of the designs can be helpful. If you do not, you can cut out rectangles of the same size as the designs and arrange them on the fabric to determine the position of the embroidery.
|
|
Prepare threads. Upload the chosen files from the Thorns and Roses Set into your machine and embroider them one by one. Don't forget to stabilize the fabric with light-weight cut-away stabilizer and hoop tightly.
|
|
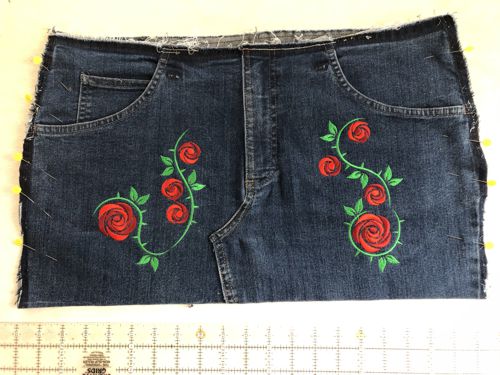
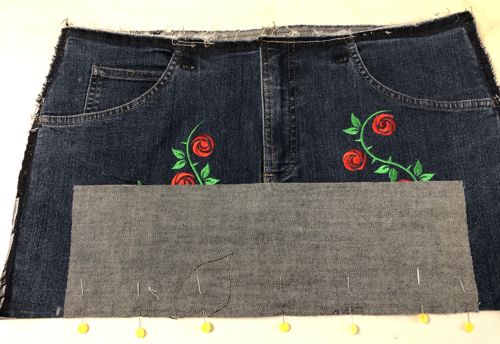
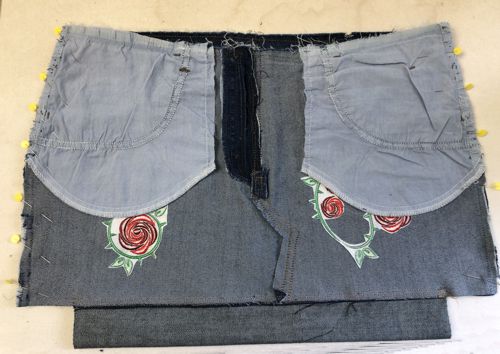
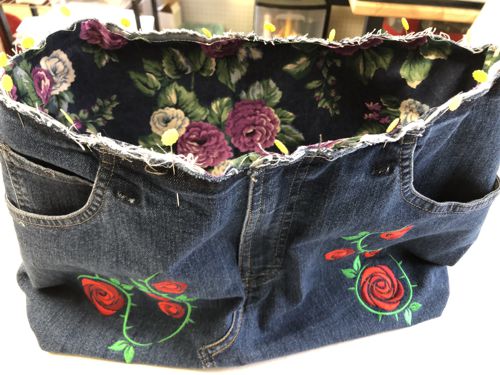
| Now position the front and the back panels together, aligning the upper edges. The back of the pants is usualy wider than the front. Pin the parts together and trim them first at sides, so that they are of the same width, then along the bottom edge. |
|
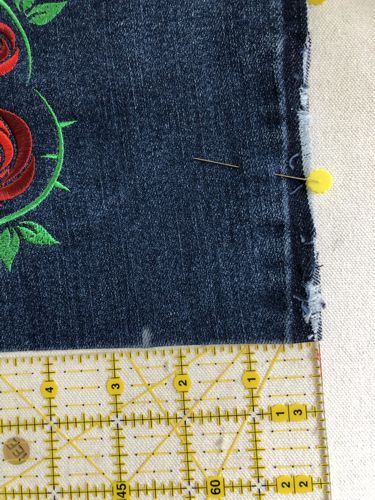
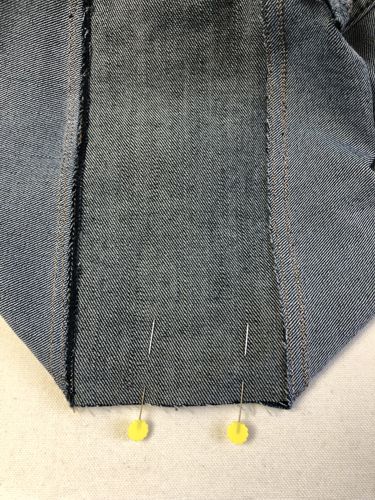
| Measure and mark 2 1/2" along the bottom of the panels from each side. |
|
Measure the distance between the marks. For our jeans it's 15 1/4".
If your jeans are bigger size, you can make the tote deeper. Use 3"- 3 1/2" distance from the sides, in the previous step. |

|
Cutting:
|
Out of the jean legs, cut,
- 1 strip measuring 5" x 15 1/4", (note: if your measurements are different, you need a strip the length of the distance between the marks and the width of double distance from the sides, e.g. if you measure and mark 3" from the sides, the width of the strip should be 6");
- 2 strips measuring 3" x 27" each for the handles (alternatively you can use 1" webbing ).
|
Handles:
|
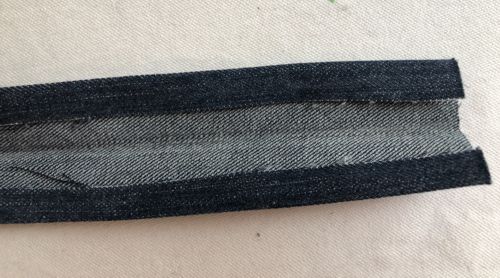
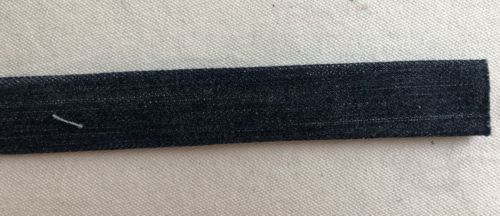
Fold the 3" x 27" strips lengthwise in half, wrong side inwards, press with steam.
Fold the long raw edges 1/2" inside, press with steam. |
|
| Fold the handles along the first crease. Pin. |
|
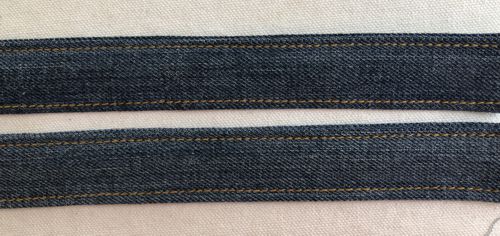
| Topstitch along both long edges. |
|
| Assembly: |
| Note: seam allowance is about 1/2" unless otherwise recommended. Press every seam immediately after you make it. |
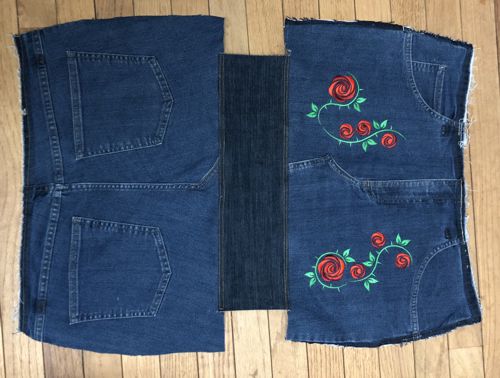
| Pin and sew the 5" x 15 1/4" strip to the front panel between the marks. |
|
| Unfold and topstitch the seam from the right side. |

|
| In the same way, sew the back panel to the bottom strip. |
|
| Using the working piece as a template, place it face down on the lining fabric. Pin. |
|
| Cut out the lining, following the outlines of the outer tote. |
|
| Pin and stitch together the sides of the tote. |
|
To shape the bottom, fold the bottom of the bag so that the bottom and the side seams align. Pin.
Stitch. Seam allowance 1/2". Stitch several parallel lines. |
|
| In the same way, sew the lining - first the side seams, then the bottom. |
|
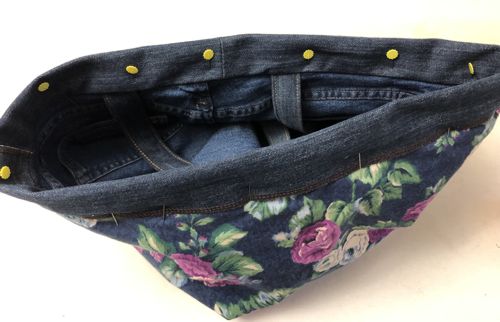
Insert the lining into the tote, align the side and bottom seams, pin the upper edges together.
|
|
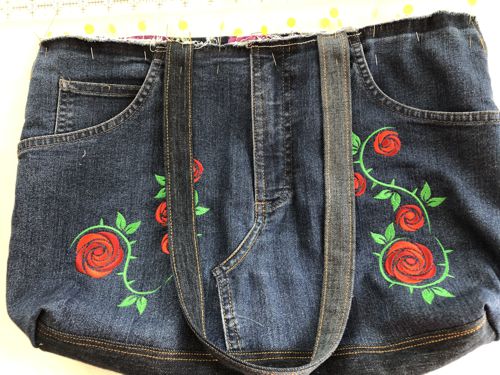
| Pin the handles to the front and back panels, equal distance from the side seams. Sew the handles in place 1/4" from the edge. |
|
Measure the circumference of the upper edge of the tote. Add one inch to the measurement. Thus, the circumference of our bag is 35", plus 1", is 36". Out of a jeans leg, we cut a strip 3 1/2" x 36".
Finish one of the long edges and one of the short edges of the strip with zig-zag or serger.
Fold lengthwise in half and press. |
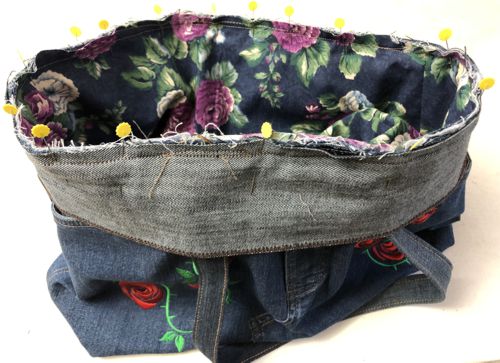
Starting with the finished short end of the strip, right sides together, pin its unfinished long edge to the upper edge of the tote. Overlap the unfinished short edge.
Stitch the strip in place.
|
|
| Unfold the upper binding. |
|
| Turn the tote wrong side out. Fold the binding along the pressed line onto the lining, pin from the right side. |
|
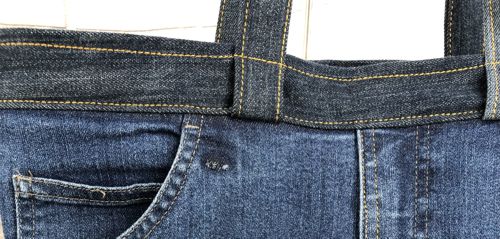
Topstitch from the right side catching the edge of the binding.
Fold the handles up and topstitch from the right side 1/4" from the upper edge, catching the handles. |
|
Sew snap onto the wrong side of the bag between the handles.
|
|
| Have fun! |

|
|
Back to Thorns and Roses Set.
|
Back to Projects Page
|