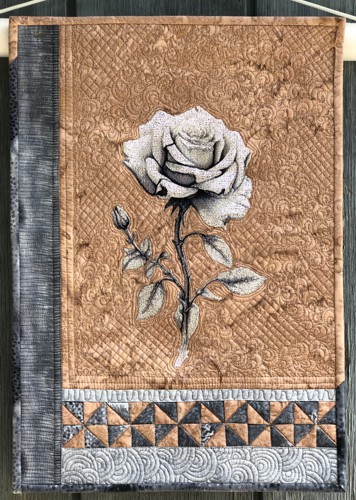
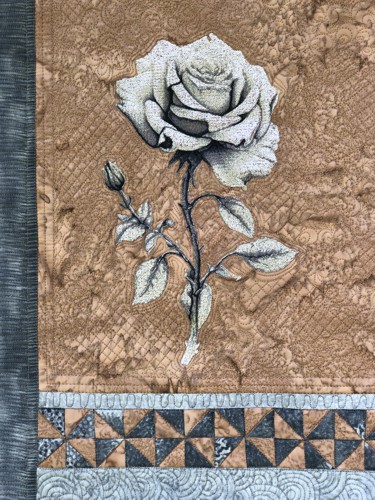
Welcome to the Winter Rose Wall Quilt tutorial! In this guide, you'll learn how to piece together a small quilt, and enhance it with machine embroidery. Follow these steps to create a beautiful wall hanging that adds a touch of winter charm to your home. Let's get started on this fun and rewarding project.
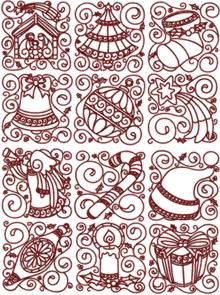
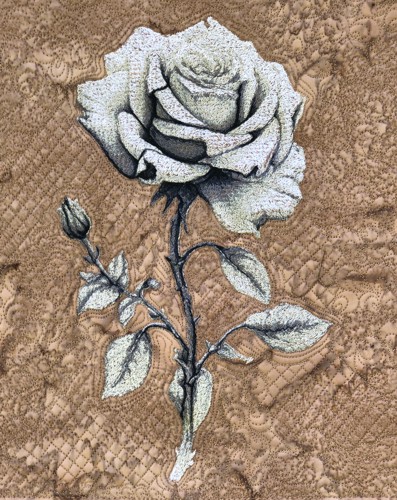
We used the design Winter Rose for the commercial hoop.
The finished size of the quilt is about 14" x 20". |
|
You will need :
- embroidery threads either polyester or rayon, according to our color card;
- a piece of light beige fabric for the central part, blocks and binding;
- small amount of gray-colored fabrics for the borders, blocks and binding (batiks work great);
- medium-weight cut-away embroidery stabilizer;
- fabric for the backing;
- batting;
- quilter's ruler;
- rotary cutter;
- iron;
- #12 universal needle;
- quilting threads (the colors of the fabrics you use);
- #12-#14 quilting needle.
|
| Embroidery: |
Upload the file of the Winter Rose to the embroidery machine.
Select threads. Stabilize the light-beige fabric with medium-weight embroidery stabilizer.
Hoop the fabric tightly and embroider the design.
Trim the stitch-out to a piece measuring 12 1/2" x 161/2".
Remove the stabilizer around the embroidery. |

|
Cutting:
|
Out of the beige-colored fabric, cut 12 squares measuring 1 7/8" x 1 7/8" each.
Use the remaining fabric for the binding. |
Out of gray fabric, cut
- 12 squares measuring 1 7/8" x 1 7/8" each,
- one strip measuring 1" x 12 1/2",
- one strip measuring 2 1/2" x 12 1/2" and
- one strip measuring 2 1/2" x 20 1/2".
Use the remaining fabric for the binding. |
| Blocks: |
| Note: seam allowance is scant 1/4", press each seam after you make it. |
| To sew half-triangle squares, position the 1 7/8" x 1 7/8" squares in pairs, each pair with 2 different fabrics, face to face. You'll get 12 pairs. |
| With a pencil, draw a diagonal across the top square. Stitch scant 1/4" from the pencil line on both sides. |
|
|
| Cut along the line. Open the new squares. Press the seam towards the darker color. Trim the "ears". Repeat for all the pairs. You should get 18 two-color squares, measuring 1 1/2" x 1 1/2". |
|
| Out of each 4 half-triangle squares sew 6 blocks: |
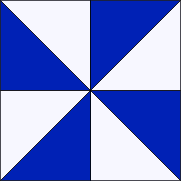
|
Assembly of the Top:
|
| Note: seam allowance is 1/4" unless otherwise recommended, press the seam immediately after you make it. |
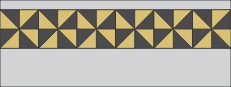
Sew all 6 blocks in a row.
|

|
Sew the gray 1" x 12 1/2" strip to the upper edge of the block row.
Sew the gray 2 1/2" x 12 1/2" strip to the lower edge of the block row. |
|
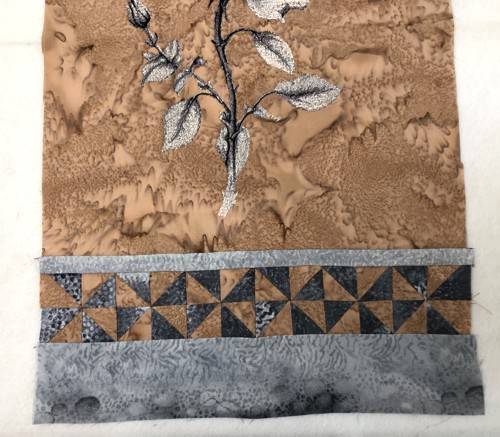
Sew this section to the lower edge of the stitch-out piece.
|
|
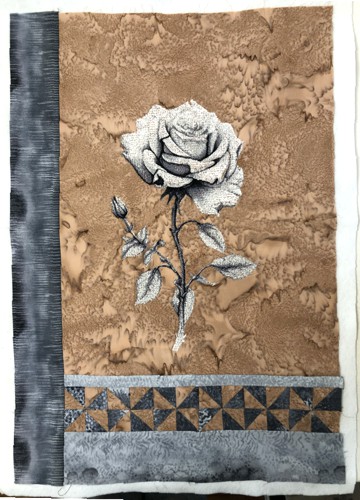
| Sew the gray 2 1/2" x 20 1/2" strip to the left edge of the working piece. |
|
Quilting and Finishing
|
Now place the backing on a flat surface (table) face down. Cover with batting. Spread your working piece over it.
Pin all layers together.
We quilted in a free-motion style all over the working piece. Start from the central part, and echo-quilt the emboidery first. |
|
Press with heavy steam. Square the piece - all angles should be 90 degrees and opposite sides of the same length.
Finish the raw edges with the binding. You can use the binding either of one color - gray or beige, or combine the strips of both colors. |
|
| Have fun! |
|
Back to Winter Rose
|
Back to Projects Page
|