In this tutorial, you will learn how to sew, embellish with machine embroidery, and quilt four small seasonal quilts. Each quilt features the same piecing pattern, but the fabrics are chosen to match the seasonal embroidery designs: A Window Into Summer, A Window Into Fall, and so on. These quilts are perfect for hanging around your home to reflect the current season.
We used the designs from the A Window to Summer, A Window to Spring, A Window to Winter, and A Window to Fall.
The finished size of the quilt is about 14" x 14".
|
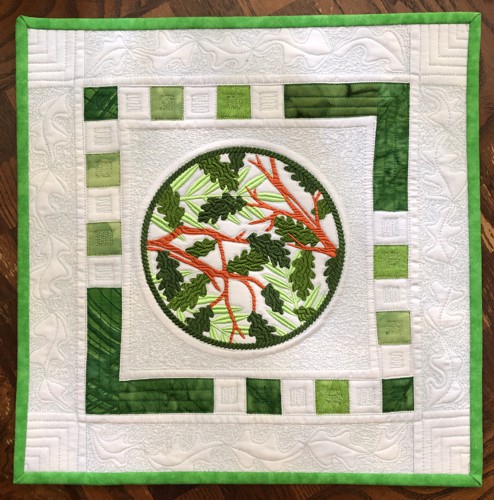
A Window to Summer
|
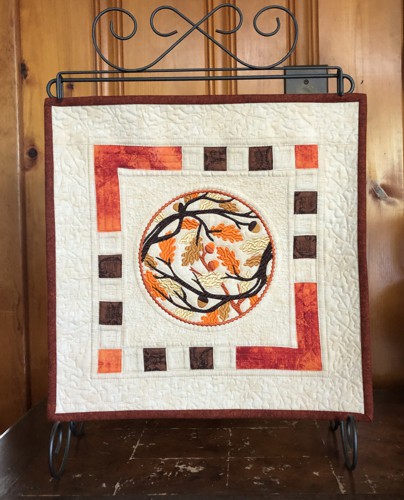
A Window to Fall |
You will need :
- embroidery threads either polyester or rayon according to the color cards;
- about 1 yard of cream colored fabric for the central part and borders of the Spring, Summer and Fall quilts;
- about 1/2 yard of grey-colored fabric for the Winter quilt;
- scraps of cotton fabrics in different hues matching the colors of embroidery, for the border;
- light-weight cut-away embroidery stabilizer;
- fabric for the backings and bindings;
- batting;
- quilter's ruler;
- rotary cutter;
- iron;
- #12 universal needle;
- quilting threads (black and variegated in jewell tones);
- #12-#14 quilting needle.
|
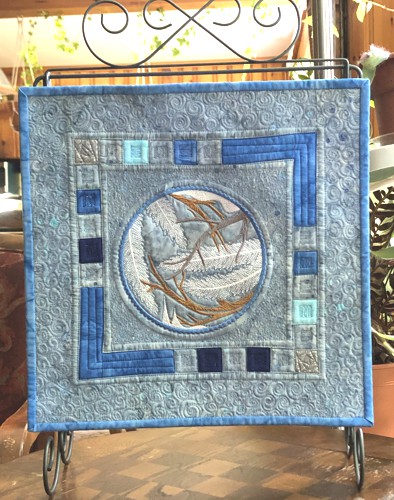
A Window to Winter |
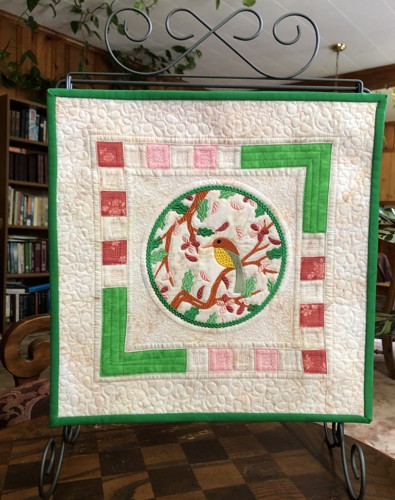
A Window to Spring |
Cutting:
|
| Note: all quilts follow the same pattern, only the colors of the fabrics used are different. We explain the pattern using the Summer quilt. |
Out of the cream colored fabric, cut:
- the central part measuring 8 1/2" x 8 1/2";
- 12 squares measuring 1 1/2" x 1 1/2" for the inner border,
- 2 strips measuring 2 1/2" x 10 1/2" and
- 2 strips measuring 2 1/2" x 14 1/2" for the outer border.
|
Out of the colored fabrics, cut
- 2 strips measuring 1 1/2" x 3 1/2",
- 2 strips measuring 1 1/2" x 4 1/2",
- 10 squares measuring 1 1/2" x 1 1/2".
|
Assembly:
|
| Note: seam allowance is 1/4" if otherwise recommended, press the seam immediately after you make it. |
Using a 1 1/2" x 3 1/2" colored strip, two colored 1 1/2" x 1 1/2" squares and three cream 1 1/2" x 1 1/2" squares sew a strip: colored strip - cream square - colored square - cream square - colored square - cream square.
Repeat for a second strip.
|

|
| Sew these new strips to the upper and lower edges of the central part, so that the colored strip of the top strip is on the right, and the colored strip of the bottom strip is on the left. |
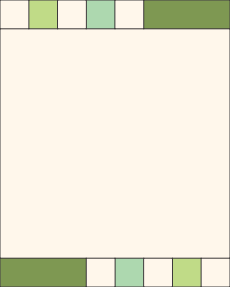
|
Using a 1 1/2" x 4 1/2" colored strip, three colored 1 1/2" x 1 1/2" squares and three cream 1 1/2" x 1 1/2" squares sew a strip: colored strip - cream square - colored square - cream square - colored square - cream square - colored square.
Repeat for a second strip. |

|
| Sew these new strips to the left and right edges of the central part. The colored strip of the left strip should be towards the bottom and the colored strip of the right strip should be towards the top of the quilt. |
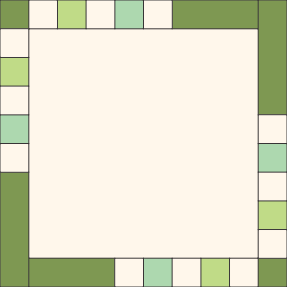
|
Sew the cream 2 1/2" x 10 1/2" borders to the upper and lower edges of the working piece.
|
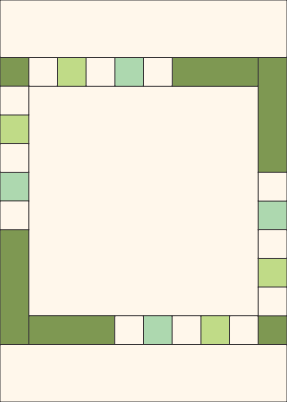
|
| Sew the cream 2 1/2" x 14 1/2" borders to the left and right edges of the working piece. |
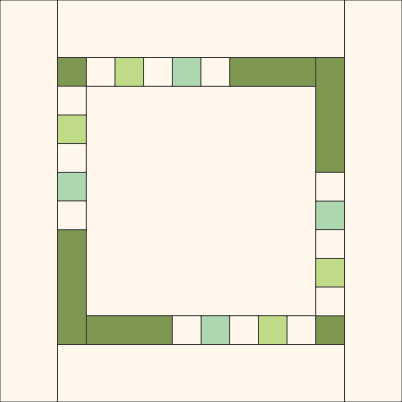
|
| Embroidery |
Upload the files of the Window to Summer, Window to Spring, Window to Winter, Window to Fall to the embroidery machine.
Select threads. Stabilize the central part.
Hoop the fabric tightly and embroider the designs in the center of each top.
Remove the excess stabilizer.
|
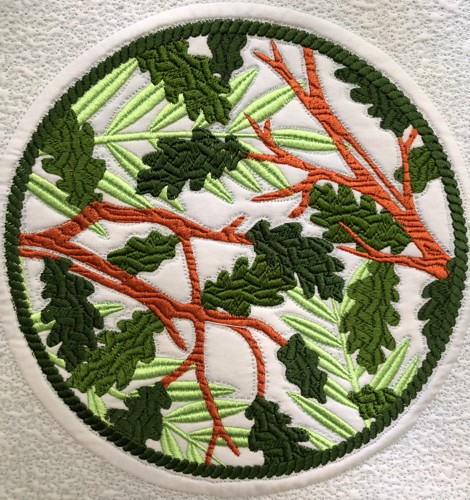
A Window to Summer |
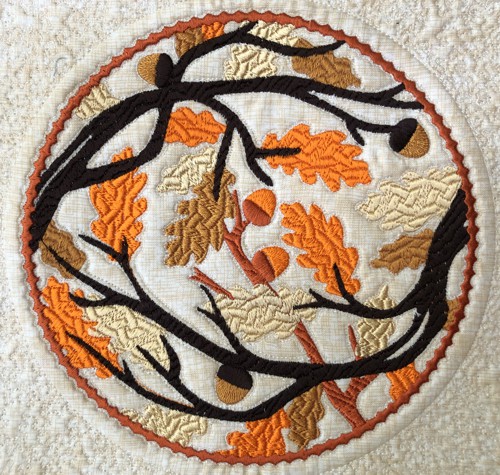
A Window to Fall |
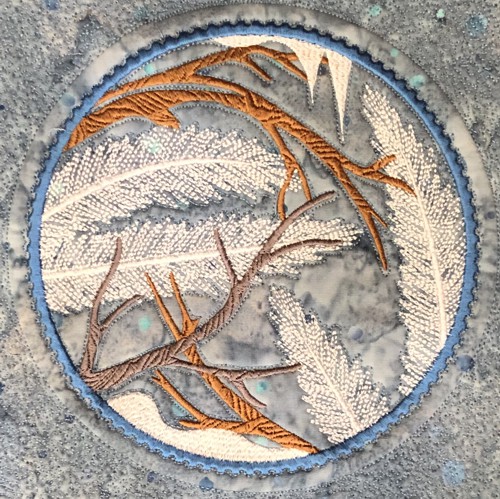
A Window to Winter |
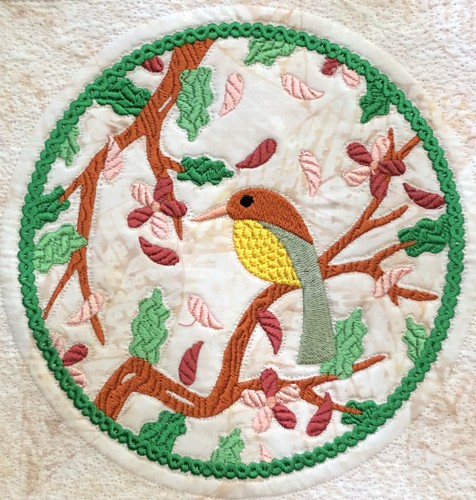
A Window to Spring |
Quilting and Finishing
|
Now place the backing on a flat surface (table) face down. Cover with batting. Spread your working piece over it.
Pin all layers together.
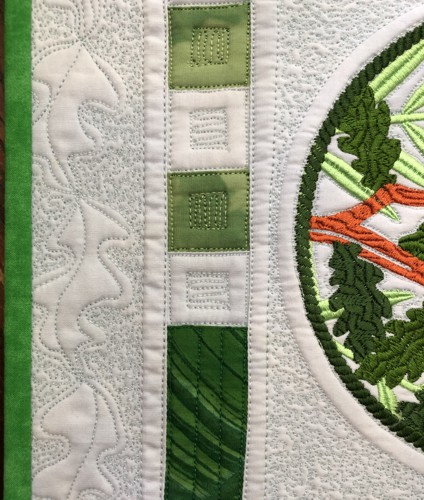
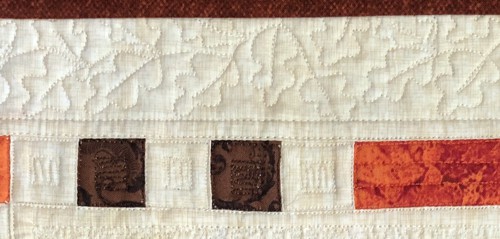
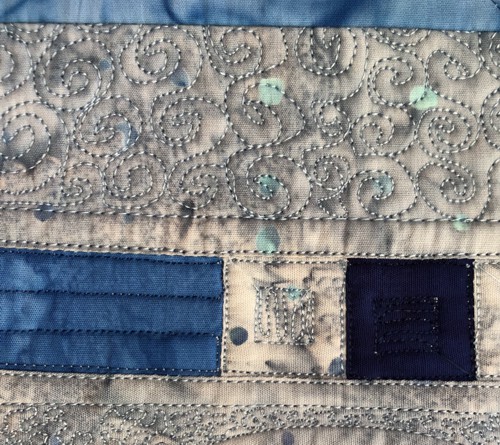
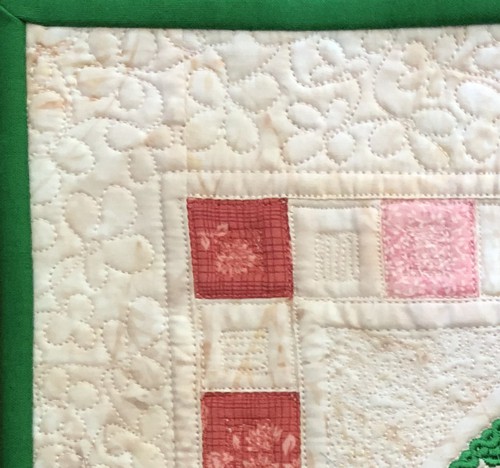
We quilted in a free-motion style all over the working pieces. Start from the central part, quilt inside the cirles, then echo-quilt the emboidery with the matching thread.
When quilting the borders, use the colored quilting threads matching the the colored fabrics. |
|
|
Press with heavy steam. Square the piece - all angles should be 90 degrees and opposite sides of the same length.
Finish the raw edges with the binding. |
|
|
| Have fun! |
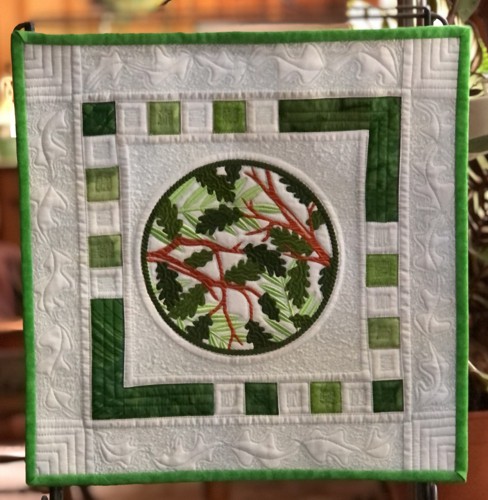
A Window to Summer |
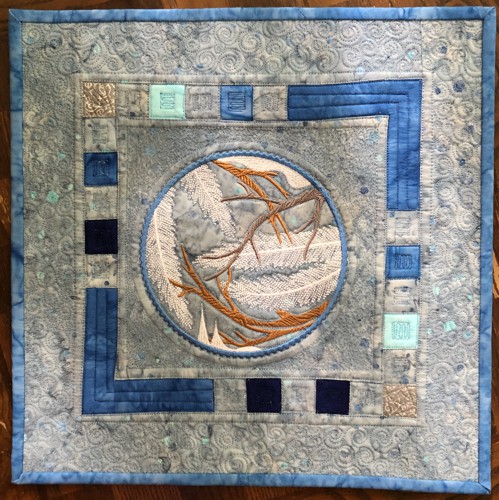
A Window to Winter |
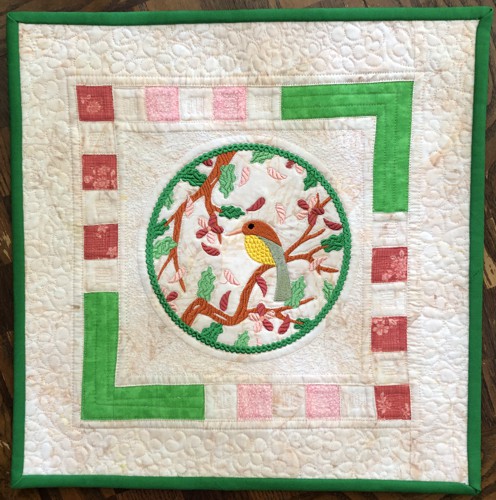
A Window to Spring |
|
Back to A Window to Summer, A Window to Spring, A Window to Winter, A Window to Fall.
|
Back to Projects Page
|
