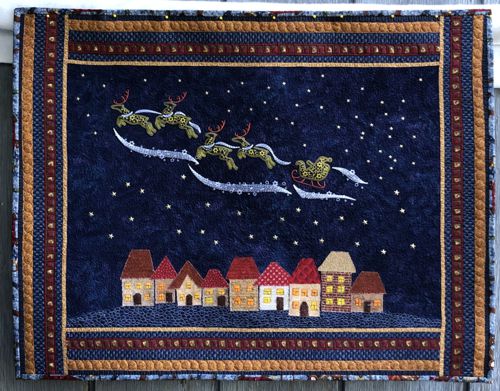
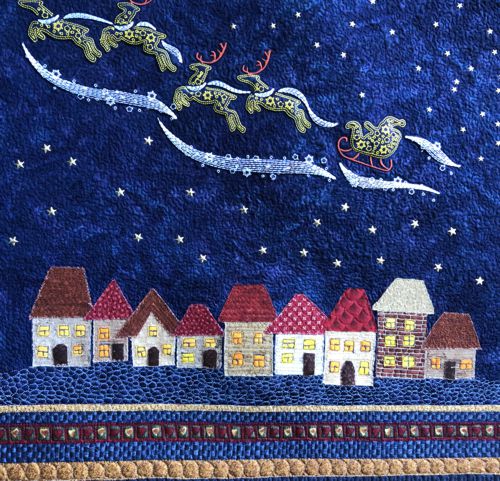
In this tutorial, you'll learn how to create the Starry Night Christmas Wall Quilt. The project involves sewing and quilting a festive wall quilt, with a small village made using appliqué and Santa's Sleigh flying across the sky in machine embroidery. This guide will walk you through each step, from assembling the pieces to adding the final embroidered details.
We used the designs from the Santa's Sleigh Set (all designs fit into a 5" x 7" hoop).
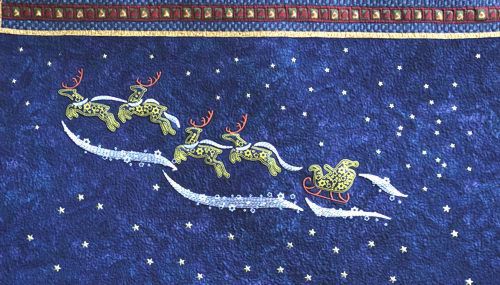
The finished size of the quilt is about 22 1/2" x 29". |
|
You will need :
- embroidery threads either polyester or rayon,
- about 1/2 yard of dark blue fabric, or a piece of about 19" x 26", for the central part;
- Christmas-themed fabric for the borders;
- scraps of fabrics in red, yellow and earth hues for the applique;
- fabric for the backing and binding;
- light-weight cut-away embroidery stabilizer;
- batting;
- quilter's ruler;
- rotary cutter;
- paper and scissors;
- Lite Steam-A-Seam2 (double stitck fusible web) or similar product for the applique;
- iron;
- #12 universal needle;
- quilting threads (colors of your fabrics);
- #12-#14 quilting needle;
- hot-fix stars (optional).
|
Embroidery:
|
| Note: we used hot-fix stars as embellishments. However, you can use some additional embroidery for the purpose, such as the designs from the Small Star Set or Night Sky Set. |
Prepare the piece (19" x 26") of the dark blue fabric.
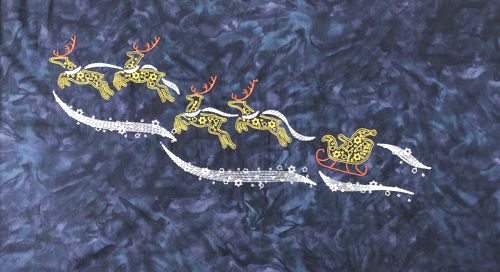
Upload the files of the Santa's Sleigh Set to the embroidery machine.
Select threads. Stabilize the upper part of the fabric.
Hoop the fabric tightly and embroider the designs one by one.
Make any additional embroidery of the stars, if needed.
Remove the excess stabilizer. |
|
| Trim the working piece to 17" x 23", the embroidery should remain in the upper part of the piece. |
| Cutting and Assembly: |
| Note: seam allowance is 1/4" if otherwise recommended, press the seam immediately after you make it. |
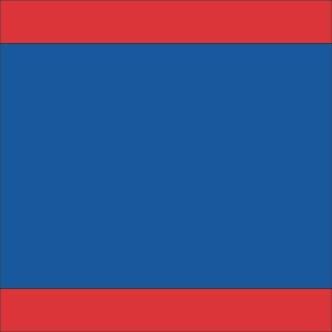
| Out of Christmas-themed fabric for the borders, cut 2 strips measuring 3 1/2" x 23" each and sew them to the upper and lower edges of the central part. |
|
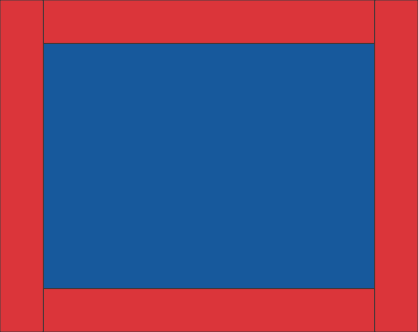
Out of the same fabric, cut 2 more strips measuring 3 1/2" x 23" each and sew them to the left and right edges of the central part.
|
|
| Applique: |
Out of paper, cut shapes of squares, rectangles, and triangles. Assemble them into a "village" on the lower side of the central part. The size of the house templates are 1", 1 1/2" and 2".
|
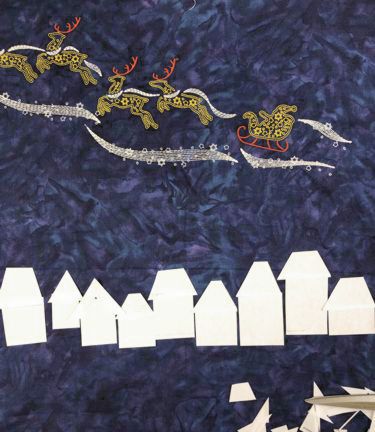
|
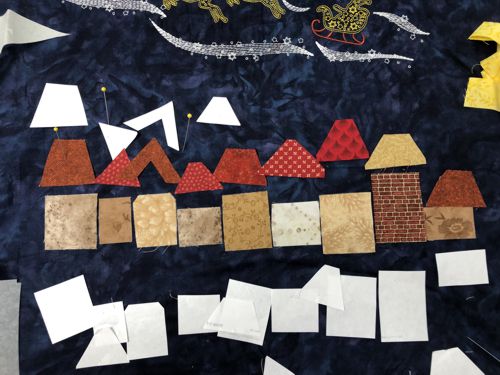
| Using paper templates, cut these shapes out of scraps of fabrics. |
|
Working with one fabric shape at a time, put it on the Steam-a-Seam web, cut out, return on the quilt top.
In the same way, cut and attach web for the "windows" and "doors".
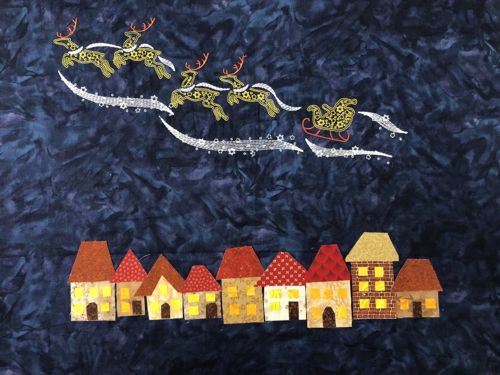
After you assemble the "village", press all appliques with hot iron as directed in the manufacturer's instructions to fix the applique permanently. |
|
Quilting and Finishing
|
Now place the backing on a flat surface (table) face down. Cover with batting. Spread your working piece over it.
Pin all layers together.
We quilted in a free-motion style all over the working piece. Start from the embroidery, and echo-quilt it. Then quilt the "sky", all area around the embroidery.
We also quilted the houses. Change threads as the applique colors require, if you want to quilt the houses as well.
Borders are quilted the last. |
|
Press with heavy steam. Square the piece - all angles should be 90 degrees and opposite sides of the same length.
Finish the raw edges with the binding. |
|
|
| Have fun! |
|
Back to Santa's Sleigh Set
|
Back to Projects Page
|
