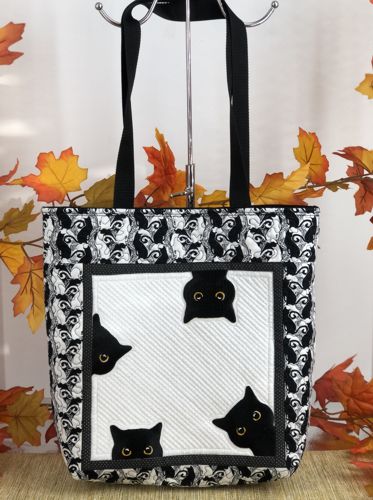
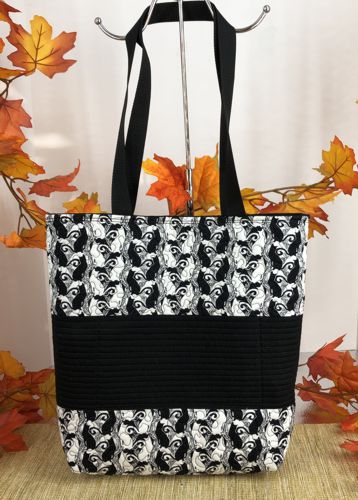
In this tutorial, you’ll learn how to sew, quilt and embellish a unique tote bag with four spooky cat embroideries on the front panel. The cats are looking down into a skylight, adding a cute touch to the design. This project is perfect for anyone looking to combine quilting and embroidery into a functional and eye-catching accessory.
We used designs from the Spooky Cat Set. The designs are available in 3 sizes. We used the small hoop size (4" x 4"). However the large and mega hoop patterns will work great for this tote too.
The finished size of the bag is about 10 1/2"W x 12 1/2"H x 4"D. |
|
You will need :
- embroidery threads,
- a fat quarter of white fabric for the center of the front panel;
- about 3/4 yard of black-and-white patterned cotton fabric for the outer bag;
- black cotton fabric;
- about 1/2 yard of cotton fabric for the lining;
- light-weight cut-away stabilizer;
- low-loft polyester batting;
- for the handles, you can either use 1" wide webbing of matching color, or sew the handles out of black fabric.
|
You will also need:
|
- quilter's ruler;
- rotary cutter and/or scissors;
- tailor's colored chalk pencil or disappearing fabric marker;
- iron;
- #12 universal needle, and sewing thread;
- #16 univeral needle and extra strong thread;
- #12-14 quilting needle and quilting threads of colors matching the fabrics;
- sew-on snap 1/2" large;
- printer (optional).
|
Embroidery:
|
In the center of white fat quarter, with a colored chalk or disappearing fabric marker, draw a square measuring 9" x 9".
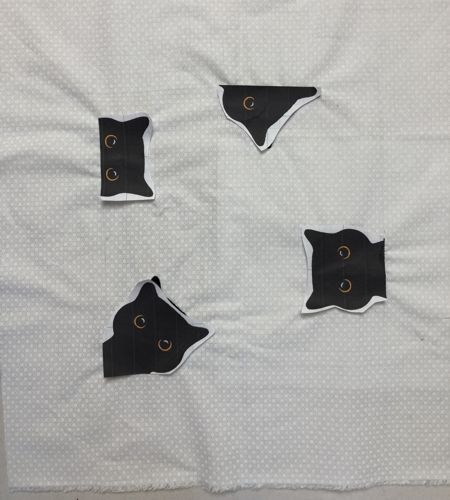
Mark the position of the embroidery along the drawn line. If you have a printer and embroidery software, print-outs of the designs can be helpful. If you do not, you can cut out rectangles of the same size as the designs and arrange them on the fabric to determine the position of the embroidery.
|
|
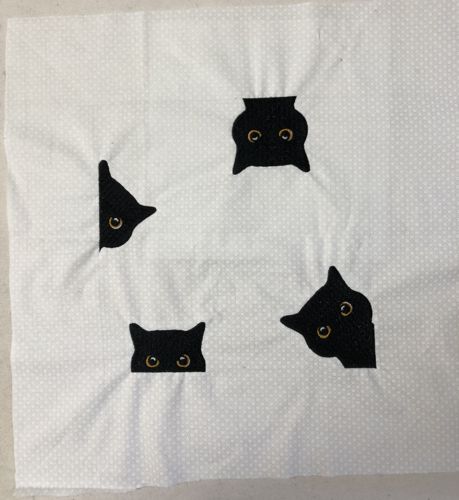
Prepare threads. Upload the files from the Spooky Cat Set into your machine and embroider them one by one. Don't forget to stabilize the fabric with light-weight cut-away stabilizer and hoop tightly.
|
|
| Trim the stitch-out to 9 1/2" x 9 1/2" square, which means 1/4" seam allowance around the drawn square. |
Cutting:
|
Out of the black fabric, cut,
- 2 strips measuring 1" x 9 1/2" each,
- 2 strips measuring 1" x 10 1/2" each,
- 1 strip measuring 2 1/2" wide and about 33" long (this strip can be cut later with more precision),
- 1 strip measuring 5 1/2" x 16 1/2".
Out of the patterned black-and-white fabric, cut,
- 2 strips measuring 3 1/2" x 10 1/2" each,
- 2 strips measuring 3 1/2" x 16 1/2" each,
- 2 strips measuring 6" x 16 1/2 each.
Out of the fabric for the lining, cut,
- 2 squares measuring 16 1/2" x 16 1/2" each,
- 1 strip measuring 8" x 10" for the inner pocket.
|
The Front Panel:
|
| Note: seam allowance is 1/4" unless otherwise recommended. Press every seam immediately after you make it. |
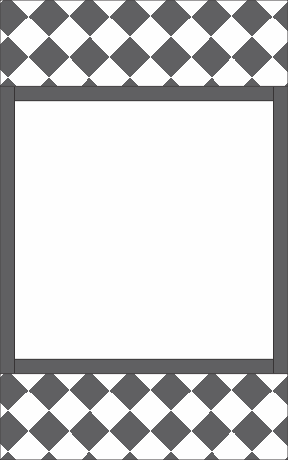
Sew the black 1" x 9 1/2" strips to the upper and lower edges of the square with the embroidery.
Sew the black 1" x 10 1/2" to the left and right edges of the square. |

|
| Sew the black-and-white patterned 3 1/2" x 10 1/2" strips to the to the upper and lower edges of the working piece. |
|
| Sew the black-and-white patterned 3 1/2" x 16 1/2" strips to the to the left and right edges of the working piece. |

|
| Back Panel: |
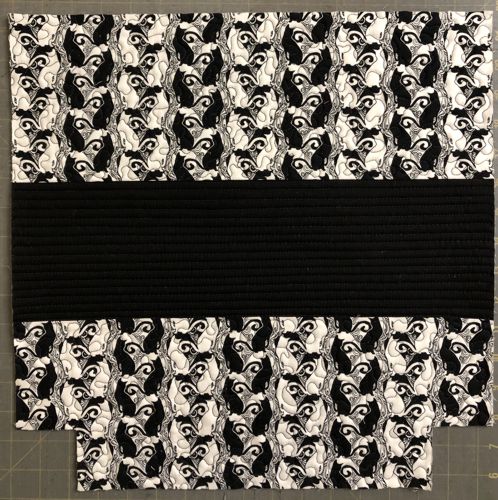
| Sew the black and black-and-white 16 1/2" long strips together with the black strip in the middle. |

|
| Quilting: |
Prepare 2 "sandwiches": place the lining/backing pieces on a flat surface (table) face down. Cover with batting. Spread both panels over them.
Pin all layers together.
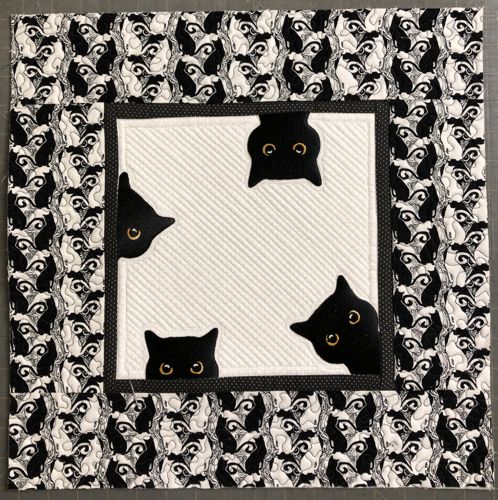
We quilted in a free-motion style all over both panels. On the front panel, start from the embroidery, and echo-quilt it, then proceedfrom the center to the outer edges. Change the threads to match the colors of the fabrics. |
|
| After quilting is done, press with heavy steam and trim both panels to 16" x 16" squares. Finish the side and bottom raw edges with zig-zag stitch or on a serger/overlock. |
Inner Pocket(s)
|
Fold the 8" x 11" piece of lining fabric widthwise in half, face inside. Stitch the sides together, seam allowance 1/4". Trim the corners. Turn the piece right side out. Press.
Tuck the unfinished edges of the pocket 1/2" inside, press. Topstitch closed
|
Pin the pocket on the back panel's wrong side, so that it's positioned on the black strip of the right side, equal distance from the side edges. Stitch in place, seam allowance scant 1/4".
|
Assembly:
|
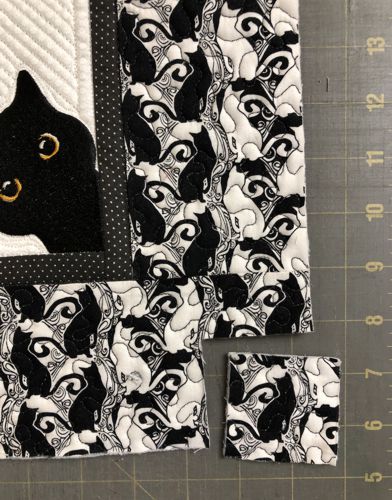
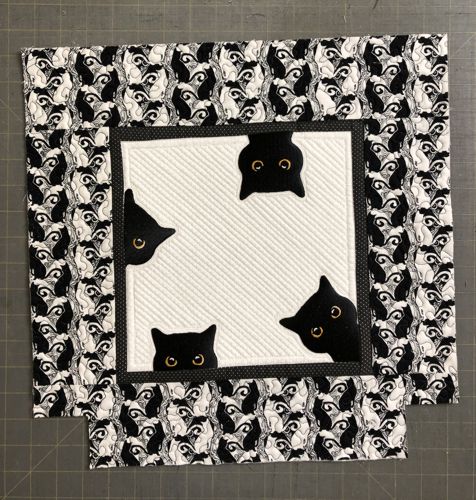
| On the lower edge of both panels, cut out 2" x 2" squares at the corners. |
|
|
|
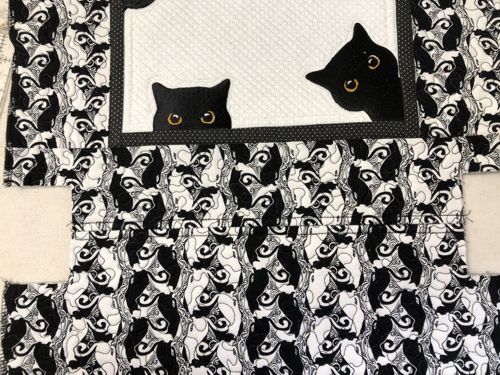
Position the panels face to face, align all edges. Pin the bottom. Stitch together with seam allowance 1/2".
Open and press the seam.
Topstitch 1/4" on both sides of the seam. |
|
Cut the webbing in 2 pieces, choose the length of the handles yourself.
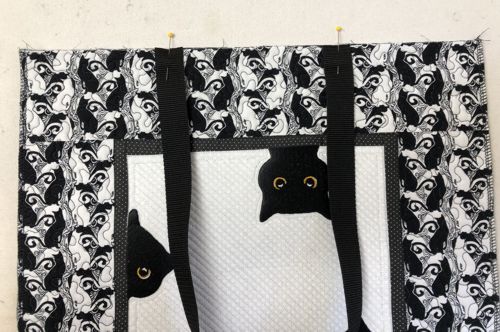
Pin one handles to the upper edges of the front and back panels, equal distance from the side edges.
|
|
| Topstitch the handles to the panel, seam allowance 1/4". |
Fold the working piece, face inside, align the sides. Working with one side at a time, stitch with seam allowance 1/2". Open and press the seam. Topstitch 1/4" on both sides of the seam.
Repeat for the other side. |
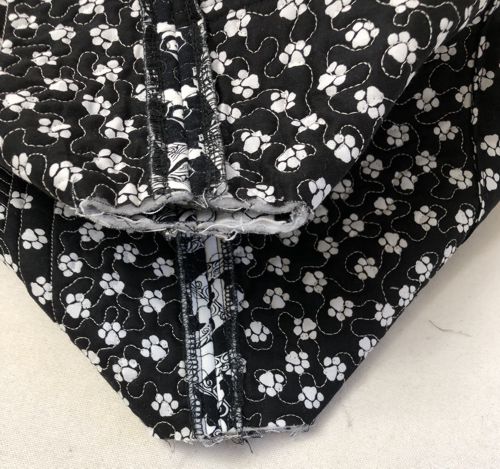
To shape the bottom, fold the bottom of the bag so that the bottom and the side seams align. Pin.
Stitch. Seam allowance 1/2". Stitch several parallel lines.
Finish the raw edge with zig-zag or overlock. |
|
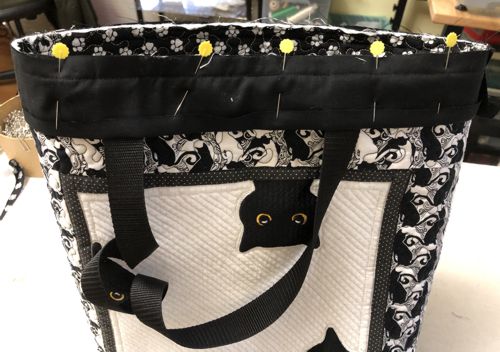
Measure the upper edge of the tote around. Out of black fabric, cut a strip 2 1/2" wide and the length of the circumference plus 1 inch.
Fold one of the long edges of the strip back about 1/2" and press.
Keeping the folded edge down and wrong side facing, fold the right short edge 1/2" and press.
Right side to right side and raw edge to raw edge, starting with the folded short edge of the strip, pin the strip along the upper edge of the tote. In the end overlap the unfinished short edge with the folded short edge.
Stitch with seam allowance 1/2". |
|
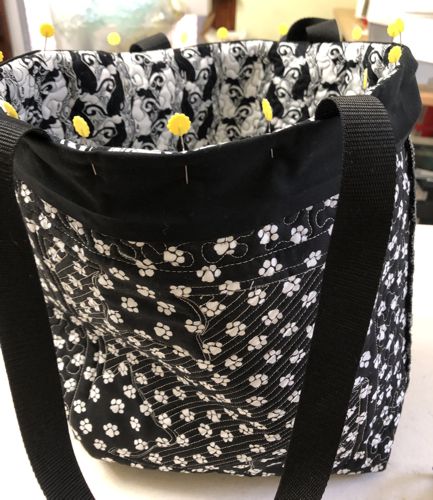
| Turn the bag wrong side out. Fold the upper edge with the binding onto the wrong side. Pin the edge. |
|
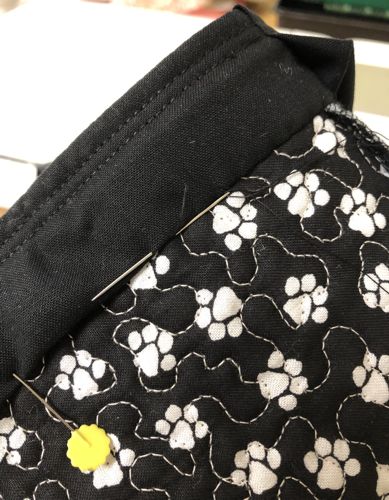
Topstitch along the upper edge twice - 1/4" and 1/2" from the edge.
Handstitch the folded edge of the strip to the lining. Press. |
|
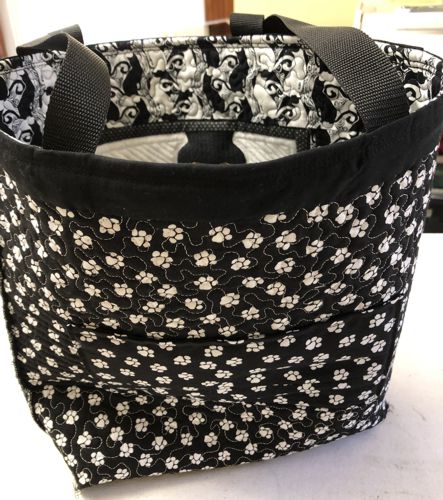
Turn the bag wrong side out. Fold the upper edge with the binding onto the wrong side. Pin the edge. Topstitch 1/4" from the edge. Press.
|
|
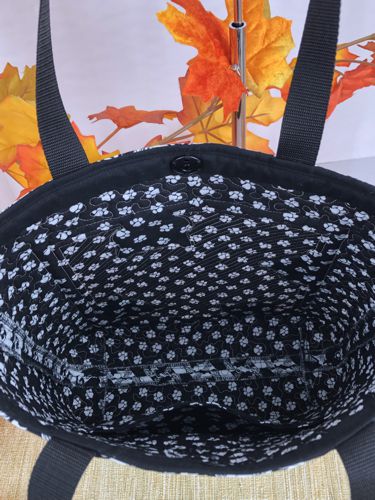
Sew on the snap onto the wrong side of the bag between the handles.
|
| Turn the bag right side out. |
|
| Have fun! |

|
|
|
Back to Spooky Cat Set
|
Back to Projects Page
|
