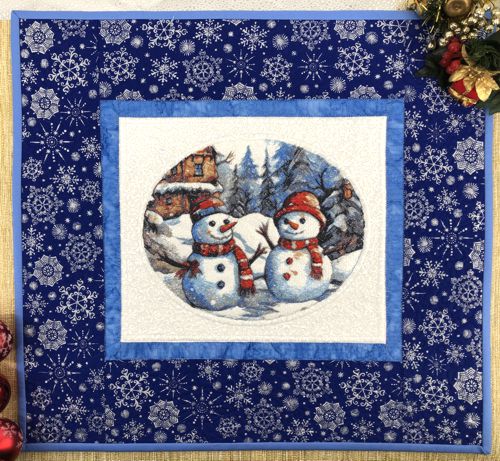
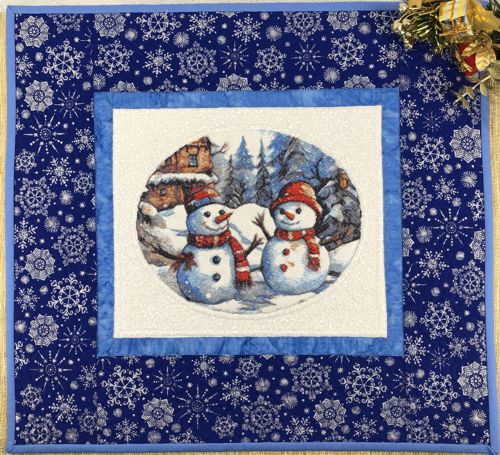
Bring some holiday cheer to your home with the Snowman Street Winter Wall Quilt tutorial. This project will guide you through sewing, quilting, and adding machine embroidery to create a festive quilt featuring cheerful snowmen. Perfect for the winter season, this small quilt makes a delightful addition to your holiday decorations or a thoughtful handmade gift.
We used the photostitch design of Snowman Street.
The finished size of the quilt is about 19 1/2" x 18".
|
|
You will need :
- embroidery threads according to our color card;
- a fat quater of white fabric for embroidery;
- about 1/2 yard of light blue fabric for the borders, binding and backing;
- about 1/2 of winter-themed patterned fabric for the borders;
- mediumt-weight cut-away embroidery stabilizer;
- batting;
- quilter's ruler;
- rotary cutter;
- iron;
- #12 universal needle;
- quilting threads ( in shades of fabrics);
- #14 quilting needle.
|
| Embroidery: |
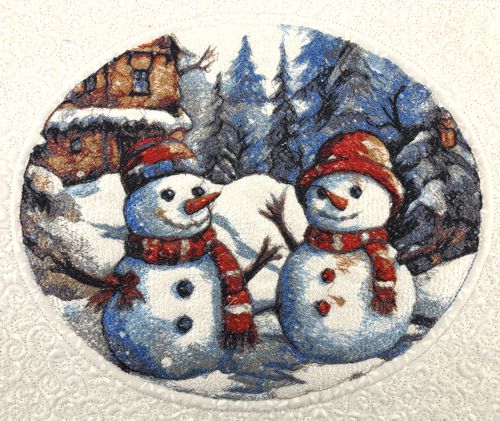
Upload the file Snowman Street to the embroidery machine.
Select threads. Stabilize the piece of white fabric.
Hoop the fabric tightly and embroider the designs in the center. |
|
| Trim the stitch-out to 11 1/2" x 10 1/2" piece, leaving margins of equal width around the embroidery. Remove the excess stabilizer. |
Cutting:
|
Out of the light blue fabric, cut
- 2 strips measuring 1 1/2" x 11 1/2",
- 2 strips measuring 1 1/2" x 12 1/2".
Use the remaining fabric for the binding and backing. |
| Out of the patterned blue fabric, cut 2 strips measuring 3" x 13 1/2" and 2 strips measuring 3" x 18 1/2". |
Assembly:
|
| Note: seam allowance is 1/4" if otherwise recommended, press the seam immediately after you make it. |
Sew the two 1 1/2" x 11 1/2" strips to the upper and lower edges of the central part with embroidery.
Sew the two 1 1/2" x 12 1/2" strips to the left and right edges of the central part.
|

|
Sew the patterned 3" x 13 1/2" strips to the upper and lower edges of the working piece.
|

|
| Sew the patterned 3" x 18 1/2" strips to the left and right edges of the working piece. |

|
Quilting and Finishing
|
Now place the backing on a flat surface (table) face down. Cover with batting. Spread your working piece over it.
Pin all layers together.
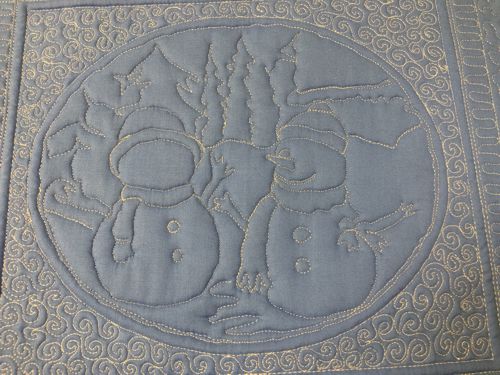
We quilted in a free-motion style all over the working piece.
Start with the embroidery - it's a large piece and if it remains unquilted, it will be puffy. We quilted with silver metalic thread following the outlines of the snowmen and pine trees. This can be better seen on the back of the quilt. |
|
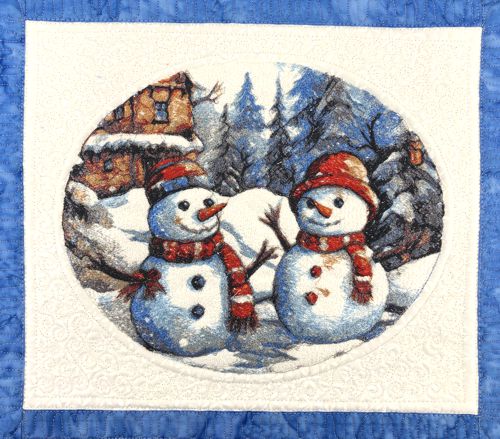
Then echo-quilt the emboidery and white parts around it.
Change to light blue thread, quilt the first border.
Then quilt the second patterned border using thread matching the color of the fabric.
Our fabric is very "busy" getting too elaborate with the quilting would be a waste, so we used a simple meandering pattern on it. |
|
After you're done, press with heavy steam. Square the piece - all angles should be 90 degrees and opposite sides of the same length.
Finish the raw edges with the binding. |
|
|
| Have fun! |
|
Back to Snowmen Street
|
Back to Projects Page
|
