These are instructions on how to embroider the designs from the Smartphone Set and make a purse for a smartphone.
There are 3 files in the set. They all fit a large hoop (5"x7").
|
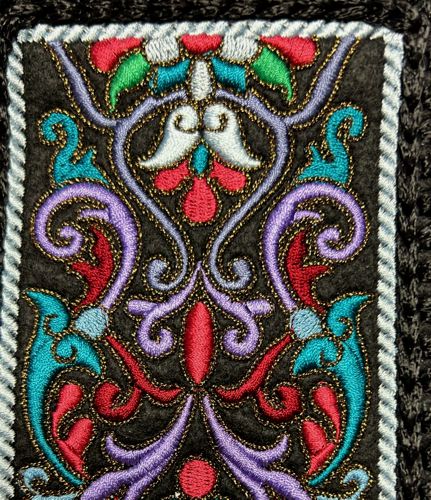
File "SmartphoneBag":
Stitches: 29809
Size: 92.6 x 179.6 mm
Colors: 9/12 |
| A close-up of the stitch-out of the first file. |
|
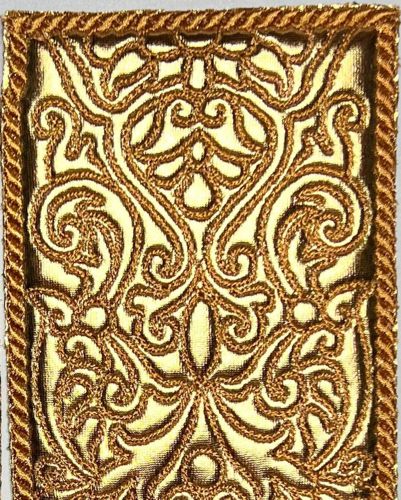
File "SmartphoneHandbagB":
Stitches: 14448
Size: 92.6 x 179.6 mm
Colors: 2/3 |
| A close-up of the stitch-out of the second file. |
|
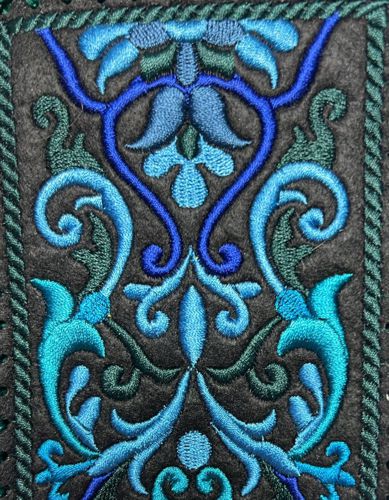
File "SmartphoneHandbagC":
Stitches: 20226
Size: 92.6 x 179.6 mm
Colors: 8/11 |
| A close-up of the stitch-out of the third file. |
|
You will need :
- embroidery threads, either polyester or rayon; use our color cards, or choose your own colors;
- medium-weight cut-away stabilizer;
- fabric for the background (please note that the background is a part of the design),
- cotton fabric for the lining;
- polyester craft felt;
- alternatively to the fabric and felt, you can use faux leather and stabilizer;
- 3 mm cord, or any thick yarn;
- 3 mm crochet hook;
- hole puncher for leather (affiliate link);
- sewing pins;
- scissors.
|
Embroidery:
|
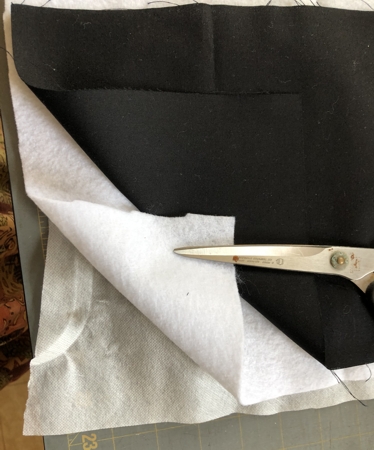
| All files are embroidered in the same way. Please note that the fabric makes the background of the embroidery. |
Prepare the threads.
Hoop a layer of cut-away stabilizer, craft felt and fabric. Tighten the hoop. |
|
Upload the files into the machine. Start embroidering. Change threads as needed.
When you are done, lightly press the stitch-out, if needed.
For 1 purse, you will need 2 stitch-outs.
|
Assembly:
|
| Cut out the stitch-outs leaving the margins. The width of the margins depends on the size of the smartphone. Our smartphone is 3" x 6", we left margins about 1/2". |
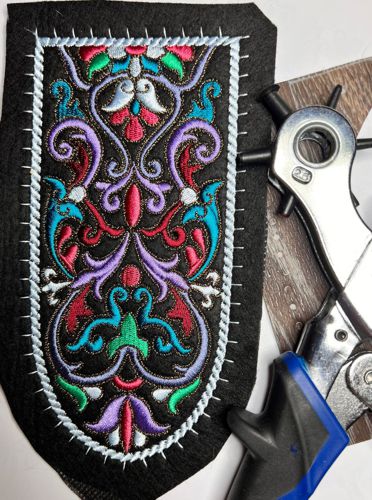
|
Using the cut out panel as a template, trace its outline on the fabric for the lining. Cut out the lining. Pin the panel and the lining together.
|
Holding the panel and lining together, punch holes along the edges in the places marked by running stitches. If you're making the purse for a larger smartphone, use the running stitches as a guide for frequency and punch the holes about 1/4" from the outer edge
Repeat for the back panel.
Alternatively, you can enlarge the size of the purse later with crocheting. |
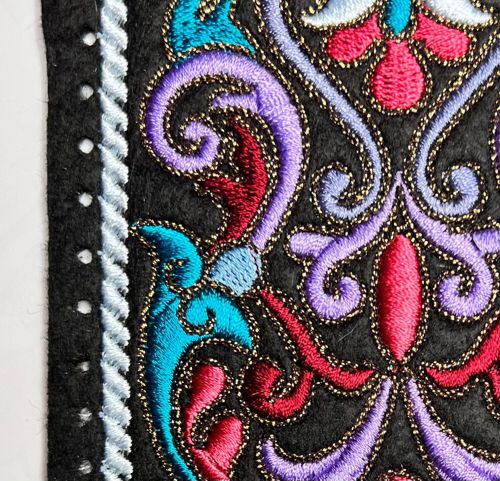
|
Starting with the upper left edge make a row of single crochet around the front panel.
Repeart for the back panel and do not cut the cord/yarn.
If you want a larger purse, add more crochet rows along the sides and bottom of the panels. |
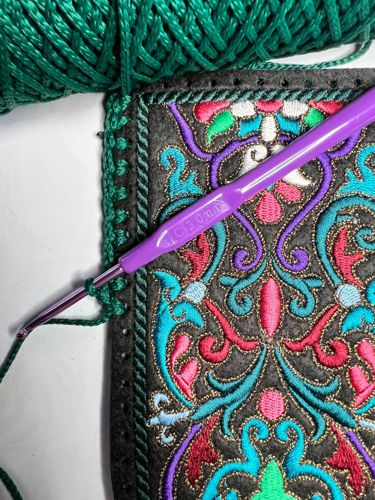
|
Position the panels wrong sides together. Align the edges.
Starting with the upper left edge make a row of connecring single crochet stitches around the panels joining them together.
When you reach the upper right edge, make a chain of 150-200 stitches (the length of the handle). Join the chain with the left upper edge of the purse, then make a row of single crochet in each chain stitch. Join with the right upper edge of the purse. Cut cord/yarn, leaving about 5" end. Weave in the end in crochet stitches. |
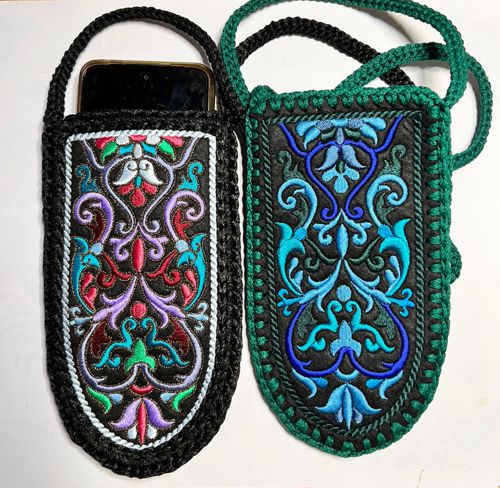
|
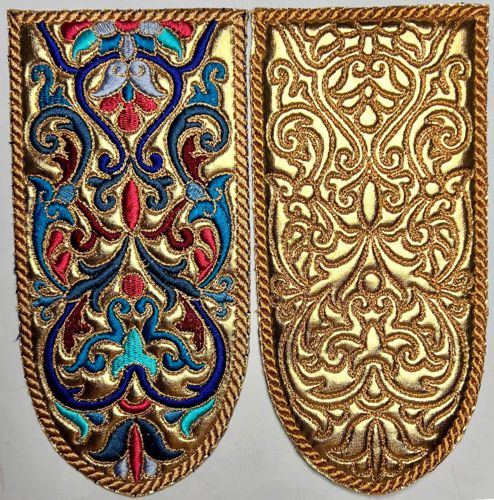
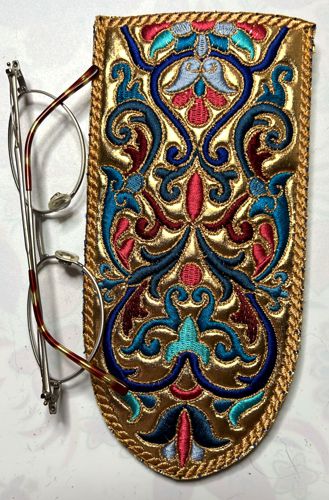
Another idea for the same designs is a glasscase.
Embroider 2 panels and cut them out close to the stitches. |
|
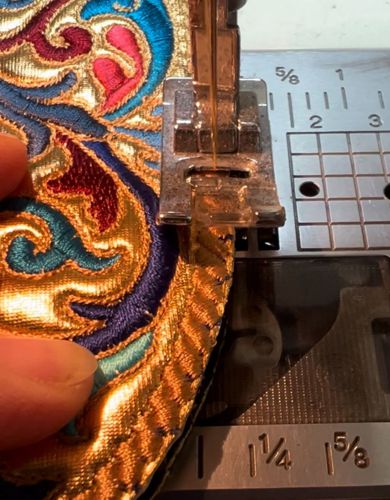
| Position the panels with the back sides together and align the edges. Using a matching thread, sew the panels together through the outer "cord" pattern. |
|
Have fun!
|
|
|
Back to Smartphone Set
|
|
