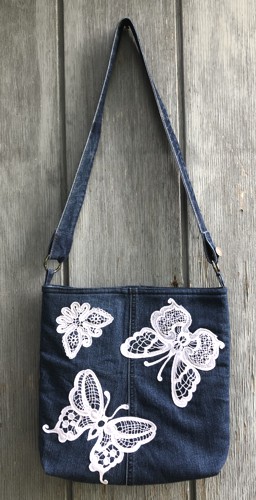
In this tutorial, you'll learn how to make a stylish shoulder bag using old jeans and machine embroidery. We'll guide you through the steps to sew the bag and add freestanding lace embroidery for a unique touch. This project is a great way to upcycle denim and create something new and practical. Let's get started on making your own upcycled denim shoulder bag!
If you are a fan of upcycling, this project is for you!
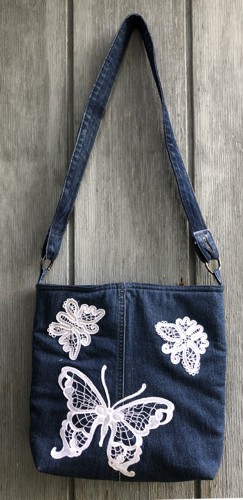
We used the designs from the FSL Battenberg Butterfly Set (for large hoop) and FSL Battenberg Butterfly Set (for small hoop).
The finished size of the bag is about 12"W x 11"H x 3"D.
|
|
You will need :
- cotton embroidery threads, please read the instructions for the freestanding lace embroidery;
- watersoluble mesh stabilizer for embroidery;
- 1 pair of old jeans;
- 1/2 yard of cotton fabric for the lining;
- low-loft polyester batting.
|
You will also need:
|
- quilter's ruler;
- rotary cutter and/or scissors;
- tailor's chalk pencil;
- iron;
- #12 universal needle, and sewing thread;
- #16 jeans needle and extra strong thread for jeans;
- 2 metal O spring rings;
- sew-on snap 1/2" large.
|

|
Cutting:
|
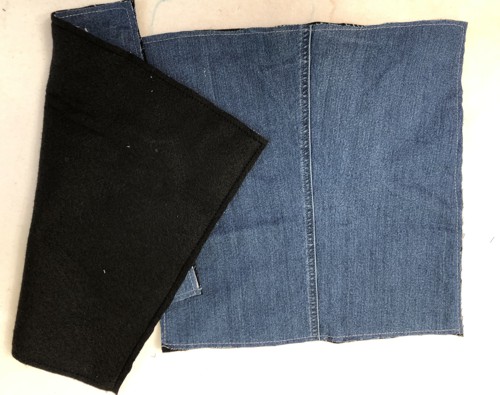
| Rip the jeans on the inside seams, rip out the waistband and the belt loops. Wash, air dry and press the pieces. |
Out of the denim fabric, cut 2 squares measuring 13" x 13" each,
Out of batting, cut 2 squares measuring 13" x 13" each,
Out of the fabric for the lining, cut
- 2 squares measuring 13" x 13" and
- 1 piece measuring 7" x 11" (for the inner pocket).
|
Embroidery:
|
Upload the files from the FSL Battenberg Butterfly Set and FSL Battenberg Butterfly Set into your embroidery machine.
Tightly hoop 2 layers of water soluble mesh stabilizer .
Embroider the designs.
Cut away the excess stabilizer, wash away the remainder, leave to air dry. |
Assembly of the Outer Bag
|
Position the denim squares over the batting squares. Topstitch the layers together along the edges, using 3-4mm stitch and seam allowance scant 1/4".
|
|
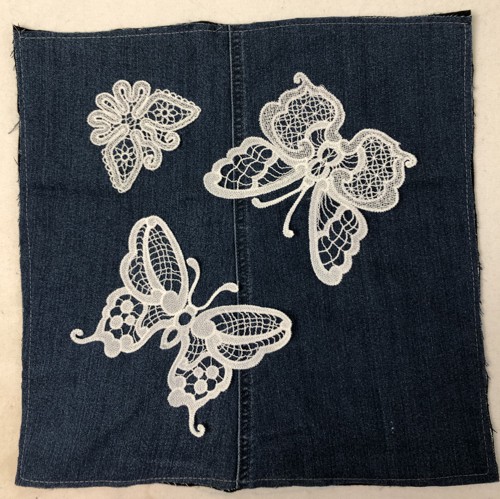
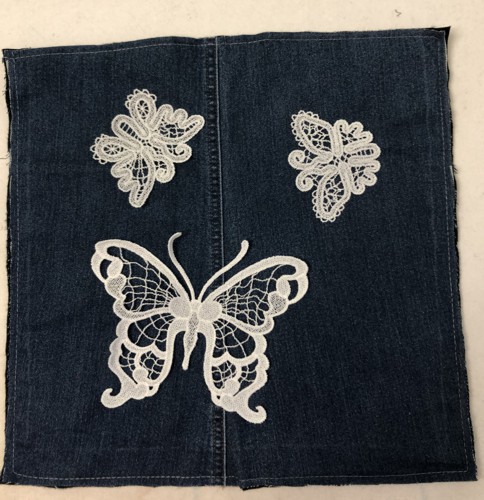
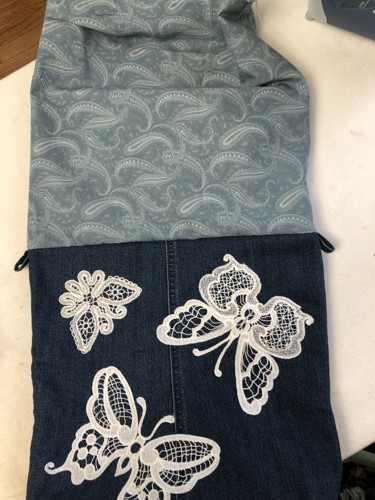
Position the stitch-outs over the squares. We used 3 stitch-outs on the front and 3 stitch-outs on the back panels.
|
|
Using the same cotton thread, or thread of the same color with which you made the embroidery, topstitch the designs to the panels. Stitch along the inner, then then outer edges of the lace.
Note: using a quilting foot will be helpful, though not necessary. |
|
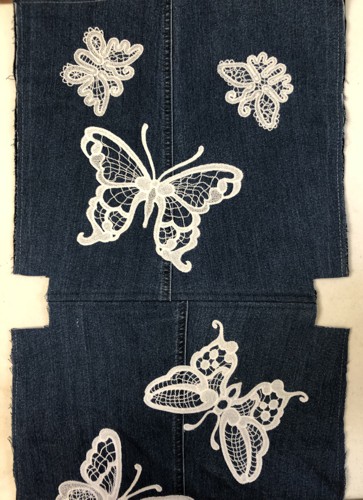
On the lower edge of both panels, cut out 1 1/2" x 1 1/2" squares at the corners.
|
Position the panels face to face, align all edges. Pin the bottom. Stitch together with seam allowance 1/2".
Open and press the seam.
Topstitch 1/4" on both sides of the seam.
|
|
Fold the bag with right sides together, align all edges. Stitch one of the sides, seam allowance 1/2".
Unfold and press the seam.
Topstitch 1/4" on each side of the seam.
Repeat for the second side
|
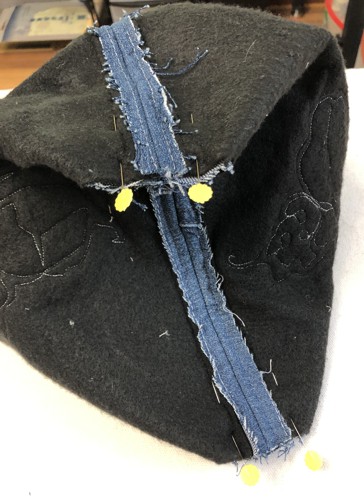
Fold the bottom of the bag so that the bottom and the side seams align. Pin.
|
|
Stitch. Seam allowance 1/2". Stitch several parallel lines.
Turn right side out.
|
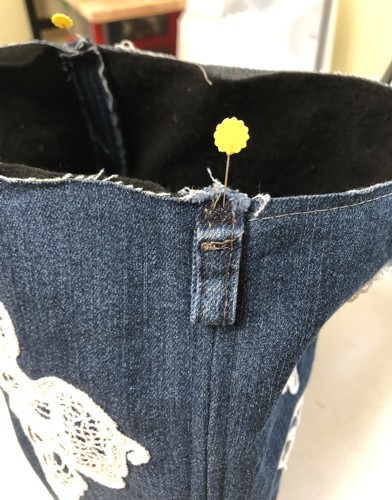
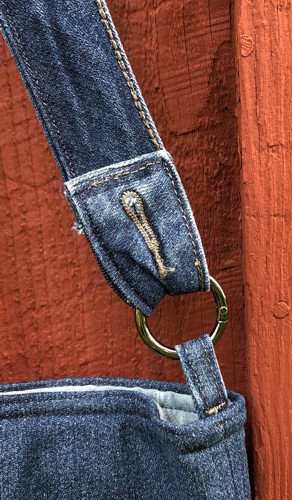
Fold 2 belt loops in half, pin them to the upper edge on the side seams.
Stitch them in place with seam allowance scant 1/4".
|
|
The Lining:
|
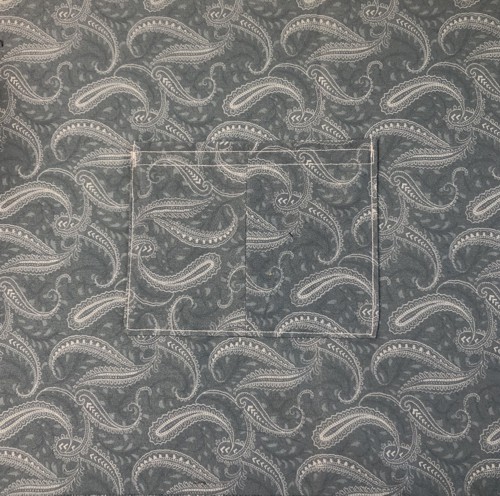
Fold the 7" x 11" piece widthwise in half, face inwards. Stitch along 2 sides, seam allowance 1/4". Turn right side out. Press.
Tuck the unfinished raw edge 1/2" inside. Press. Topstitch it closed.
|
Pin the pocket 4" from the upper edge and equal distance from the sides.
Topstitch the pocket in place.
|
|
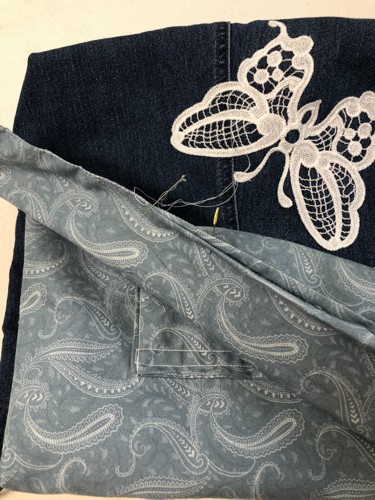
Position the lining panels face to face and stitch the sides together, seam allowance 1/4". Press the seams open.
|
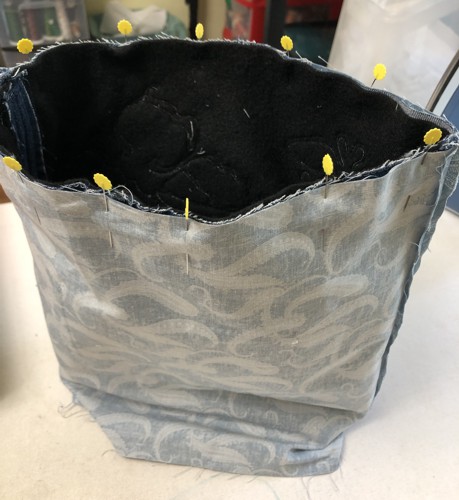
| With right sides together, put the lining over the outer bag, align the side seams and the upper edges. |
|
Stitch along the upper edge of the bag with seam allowance slightly more than 1/4".
Turn the lining right side out. |
|
| Tuck the raw edge of the lining 1/2" inside, press. Slip stitch the opening closed by hand. |
|
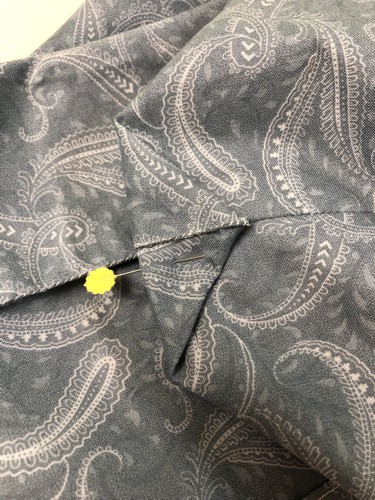
To make box corners, separate the front and back sides of the lining at the corners. Center the seam on the side with the bottom seam.
|
| Measure 1 1/2" along the seam from the corner. Fold the corner to the side seam and pin in place. |
|
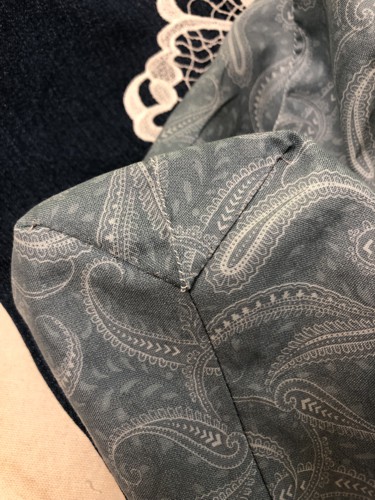
| Stitch by hand to the side seam. |
|
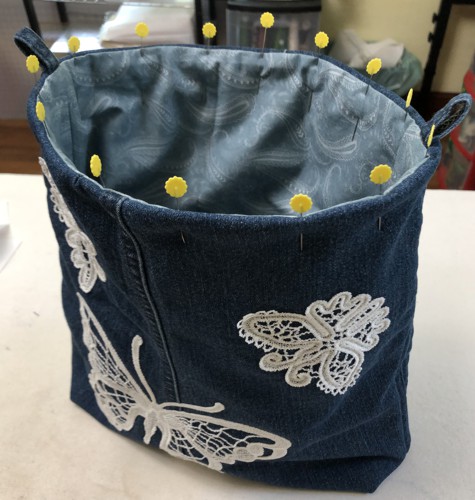
Tuck the lining inside the bag so that the upper edge of the outer bag folds about 1/4" back. Pin in place. Topstitch the upper edge twice with seam allowance 1/4" and 1/8" .
|
|
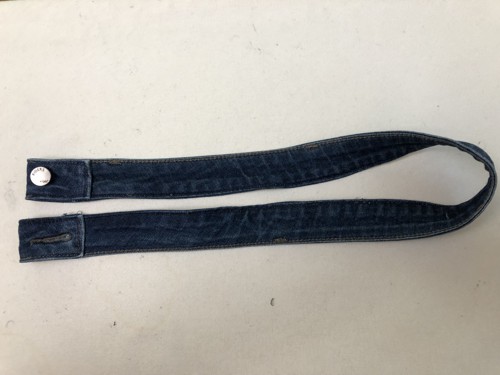
| Put the spring rings on the loops. Insert the ends of the waistband into the rings to measure the length of the handle. Mark. |
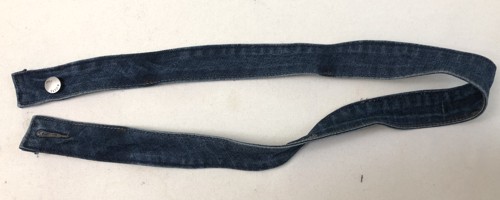
|
| Fold the ends of the waistband to the mark and topstitch in place. |
|
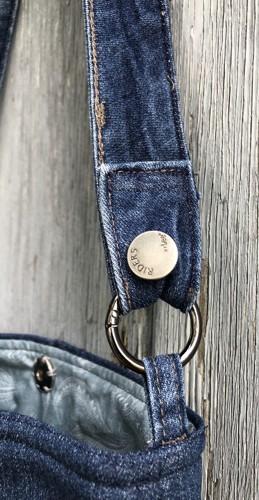
| Put on the handle on the rings. Sew on the snap. |
|
|
| Have fun! |
|
|
Back to FSL Battenberg Butterfly Set and FSL Battenberg Butterfly Set
|
Back to Projects Page
|