Welcome to our Wall Quilt with Seascape Embroidery tutorial. In this guide, you'll learn how to sew, quilt, and add beautiful machine embroidery and fabric marker details to create a stunning art quilt. This project is perfect for bringing a touch of the ocean into your home. Let's dive into the steps to make this unique piece.
If you are a beginning quilter, you can make this quilt with straight borders. However, curved borders give a more artistic touch to the piece.
We used the designs from the One-color Seascape Set.
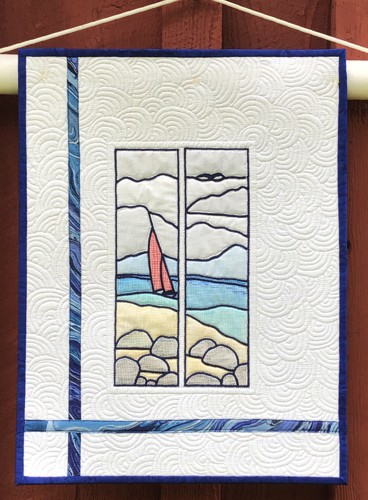
The finished size of the quilt is about 13 1/2" x 17 1/2". |
|
You will need :
- embroidery threads either polyester or rayon, dark navy or black;
- a fat quarter of white fabric;;
- small amount of cotton fabric/s for the borders and binding - solid colored or with marble patterns, (batiks work great);
- light-weight cut-away embroidery stabilizer;
- fabric for the backing;
- batting;
- quilter's ruler;
- rotary cutter;
- iron;
- Stitch Witchery (fusible bonding web) tape 1/4" wide, or similar product;
- fabric colored markers, inks, pencils or blocks;
- #12 universal needle;
- quilting threads (the colors of the fabrics you use);
- #12-#14 quilting needle.
|
Embroidery:
|
Upload the files from the One-color Seascape Set to the embroidery machine.
Align them together on the screen of the machine.
Select threads. Stabilize the center of the fat quarter of white fabric.
Hoop the fabric tightly and embroider the designs one by one in the center. |
Coloring:
|
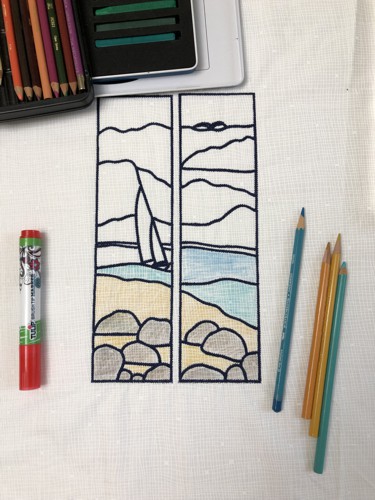
Using any coloring media for fabrics - markers, inks, pencils, etc., to color the embroidery.
|
|
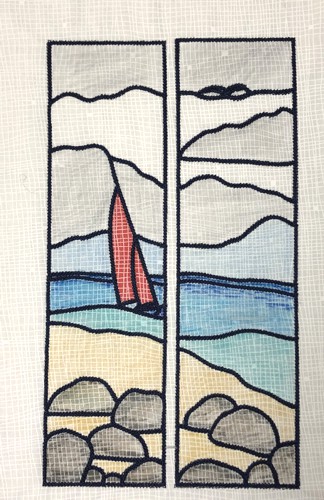
| After you're done coloring, press the embroidery with steam, or follow the instructions of the color manufacturer to fix the dye in place. |
|
Quilting and Finishing
|
Now place the backing on a flat surface (table) face down. Cover with batting. Spread your working piece over it.
Pin all layers together.
We quilted in a free-motion style all over the working piece. Start from the emboidery - using the matching threads, quilt inside every line of the seascapes. Then proceed to the area outside the embroidery. |
Press with heavy steam. Trim the piece leaving 4" margins around the embroidery. Square the piece - all angles should be 90 degrees and opposite sides of the same length.
|
Measure the quilt. Ours is 14 1/2" x 17 1/2".
Out of blue fabric, cut a strip measuring 1" x 14" and a strip measuring 1" x 18". If your quilt is slightly larger, cut the strips 1/2" longer than your actual meaasurements. |
| Place the strips right side down. Fold the long edges of the strips 1/4" to the center and press. |
|
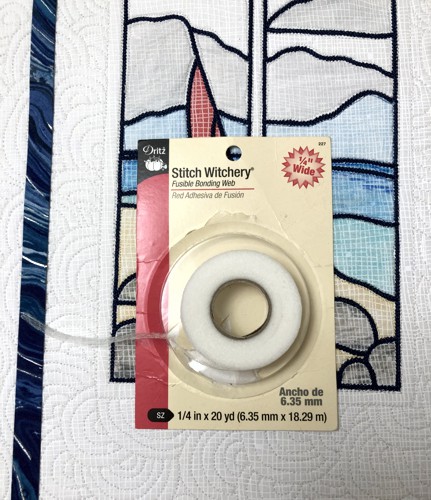
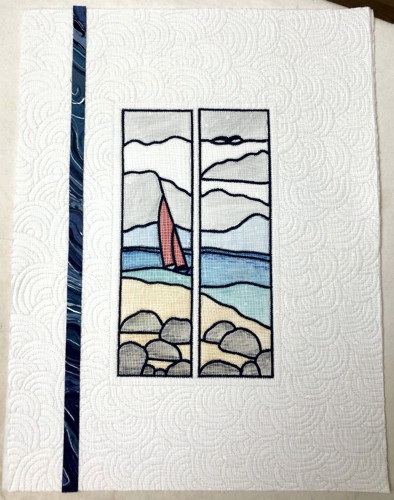
Cut the length of the fusing tape (14" and 18"), place the longer piece vertically 1' - 1 1/2" away from the embroidery. Press to bond.
Topstitch along the edges of the strip using matching thread. |
|
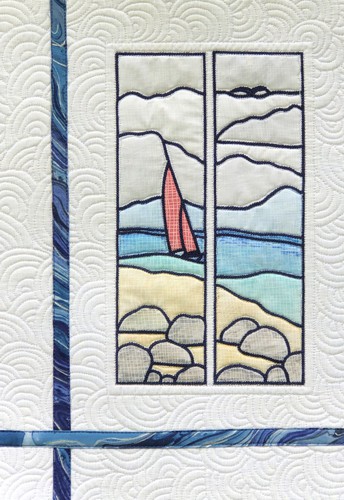
| Repeat with the shorter strip, placing it the same distance from the bottom edge of the embroidery. |
|
| Finish the raw edges with the binding. |

|
| Have fun! |
|
Back to One-color Seascape
|
Back to Projects Page
|
