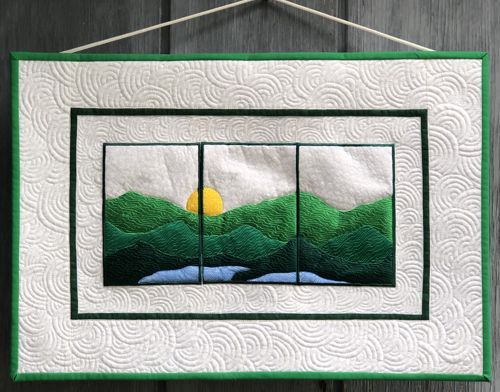
In this tutorial, you'll learn how to create a Mountain Landscape Wall Quilt. We'll guide you through sewing the quilt, quilting it, and adding detailed machine embroidery. The centerpiece of this project is a panel featuring three embroidery designs that come together to depict a serene mountain landscape.
We used the designs from the Mountain Frame Set (each design fits into a large, 5" x 7", hoop).
The finished size of the quilt is about 14 1/4" x 20 3/4". |
|
You will need :
- embroidery threads either polyester or rayon, (feel free to change the colors of the design - the scene can be made in Summer hues, as ours, or Fall ones, or use the original blue palette);
- about 1/2 yard of white fabric for the central part and borders;
- small amount of cotton fabrics in one of the colors of the embroidery for the narrow border and binding;
- medium-weight cut-away embroidery stabilizer;
- batting and backing;
- quilter's ruler;
- rotary cutter;
- iron;
- #12 universal needle;
- quilting threads;
- #12-#14 quilting needle.
|
Embroidery:
|
Upload the files of the Mountain Frame Set to the embroidery machine. Each design is embroidered on a separate piece of fabric.
Select threads. Stabilize each piece of white fabric.
Hoop the fabric tightly and embroider the designs one by one.
Remove the excess stabilizer. |
Cutting and Assembly:
|
| Note: seam allowance is 1/4" if otherwise recommended, press the seam immediately after you make it. |
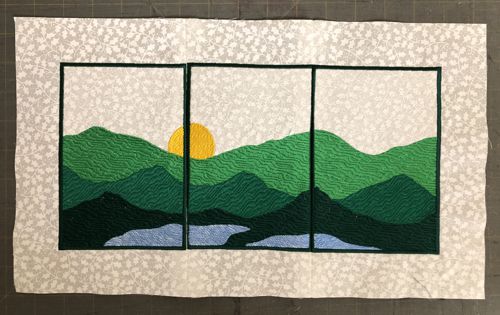
Sew the stitch-outs into a strip. Trim the seam allowance to 1/2", press the seams open.
Leave 1 1/2" wide margins around the stitch-out.
Measure the working piece. Our piece measured 9 1/4" x 15 3/4".
|
|
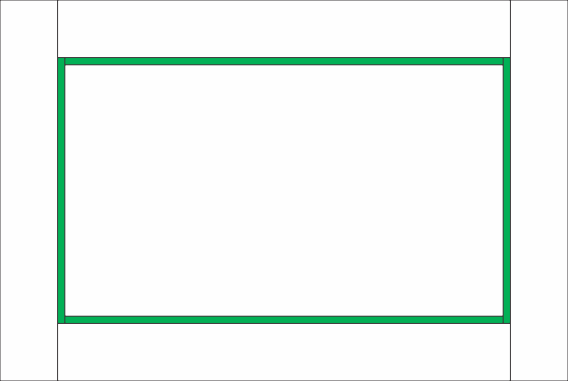
Out of the colored fabric (we used green), cut:
- 2 strips measuring 3/4" x 15 3/4" and
- 2 strips measuring 3/4" x 9 3/4".
|
| Sew the 3/4" x 15 3/4" strips to the upper and lower edges, then sew the 3/4" x 9 3/4" strips to the left and right edges of the working piece. |

|
Out of the white fabric, cut
- 2 strips measuring 2 1/2" x 16" and
- 2 strips measuring 2 1/2" x 14 1/2".
|
Sew the 2 1/2" x 16" strips to the upper and lower edges, then sew the 2 1/2" x 14 1/2" strips to the left and right edges of the working piece.
|
|
Quilting and Finishing
|
Now place the backing on a flat surface (table) face down. Cover with batting. Spread your working piece over it.
Pin all layers together.
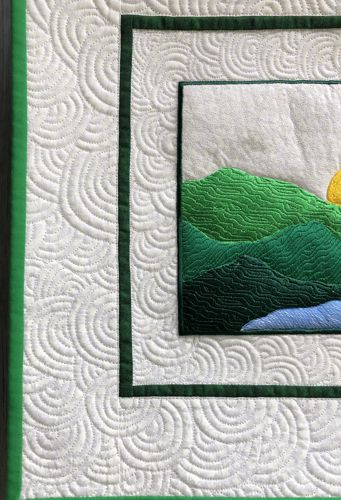
We quilted in a free-motion style all over the working piece. Start from the central part, and echo-quilt the emboidery first.
|
|
Press with heavy steam. Square the piece - all angles should be 90 degrees and opposite sides of the same length.
Finish the raw edges with the binding. |
| Have fun! |
|
Back to Mountain Frame Set
|
Back to Projects Page
|