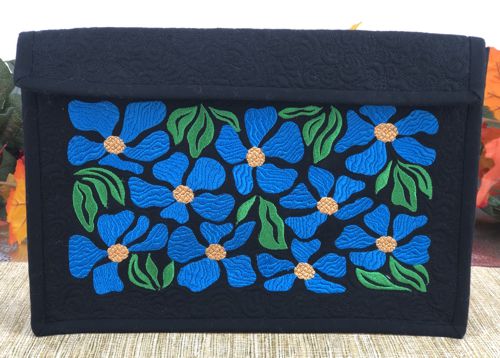
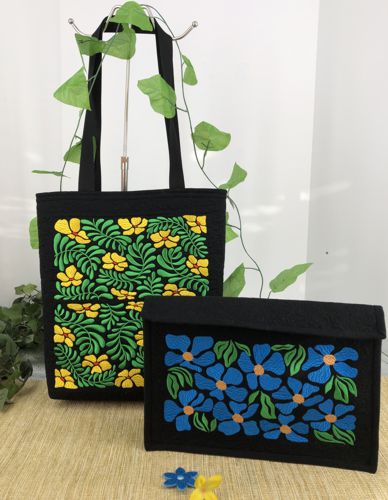
In this tutorial, you'll learn to create a charming clutch purse or handbag with a quilted flower panel design on both sides. We'll guide you through sewing the bag, adding quilted layers, and embellishing it with machine embroidery. This project is ideal for anyone looking to practice sewing and embroidery skills while making a stylish, versatile accessory.
We used one of the designs from the Art Nouveau Flower Panel Set.
The finished size of the bag is about 12"W x 8"H x 3"D.
|
|
You will need :
- embroidery threads, use either our colors card, or choose your own colors;
- about 3/4 yard of black cotton fabric for the outer bag, lining and binding;
- light-weight cut away stabilizer;
- low-loft polyester batting.
|
You will also need:
|
- quilter's ruler;
- rotary cutter and/or scissors;
- tailor's chalk pencil;
- iron;
- #12 universal needle, and sewing thread;
- #16 univeral needle and extra strong thread;
- #12-14 quilting needle and quilting threads of colors matching the fabrics;
- 2 sew-on snap 1/2" large.
|
| Cutting: |
Out of your fabric, cut
- 4 pieces measuring approximately 14" x 14", larger, if your hoop requires;
- 2 strips measuring 4" x 30".
Use the remaining fabric to cut the binding: cut strips 2" wide and the length of the width of the fabric.
Out of batting, cut
- 2 squares measuring 14" x 14" and
- 1 strip measuring 4" x 30".
|
Embroidery:
|
Select threads. Stabilize a piece of black fabric with light-weight cut-away stabilizer. Hoop the fabric tightly. Upload the file of your choice from the Art Nouveau Flower Panel Set into your machine and embroider it.
Please note that the fabric makes the background of the embroidery and while the black fabric goes well with the flower panels, the panel with apples requires light-colored fabric.
If you want the embroidery on the back of the bag as well, embroider the design again on another piece of fabric. |
Quilting:
|
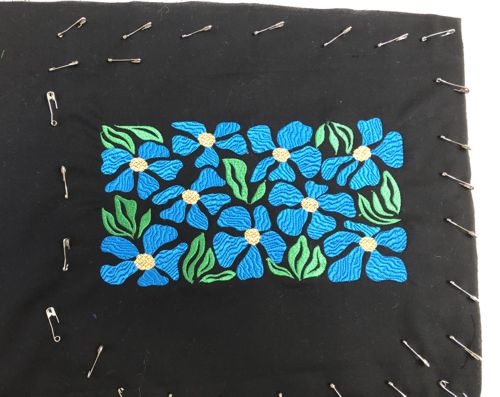
Prepare 2 "sandwiches" with the stitch-outs: place the lining/backing pieces on a flat surface (table) face down. Cover with batting. Spread stitch-outs over them.
Pin all layers together.
Prepare a "sandwich" with the strips of fabric and batting. Pin all layers together. |
|
We quilted in a free-motion style all over both panels. Start from the embroidery, and echo-quilt the flowers and leaves, then proceed to the outer edges.
Quilt the strip "sandwich" as well. |
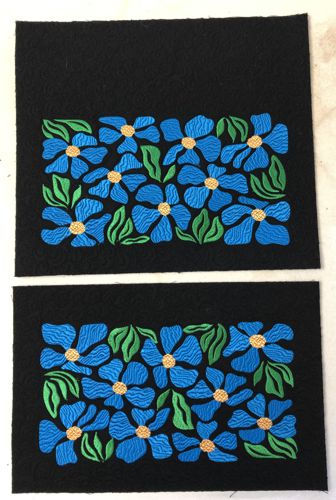
| Trim the panels, leaving 1" margins around the embroidery on the side and bottom edges. On the back panel leave 4" margin on the upper edge, and on the front panel leave 1 1/2" margin on the upper edge. |
|
| Measure the length of the 2 sides and bottom of the front panel. Ours is 28" long. Trim the quilted strip to the 3" wide and desired length, in our case it's 3" x 28". |
| Putting Together: |
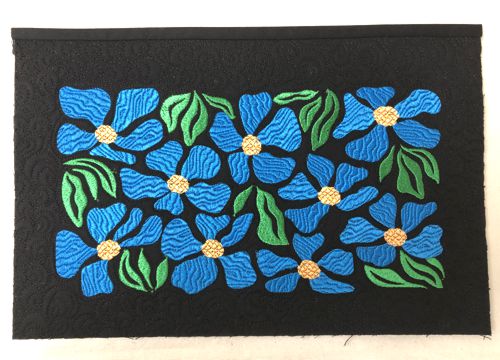
| With the binding, finish the upper raw edge of the front panel. |
|
| With the binding, finish the short raw edges of the quilted strip. |
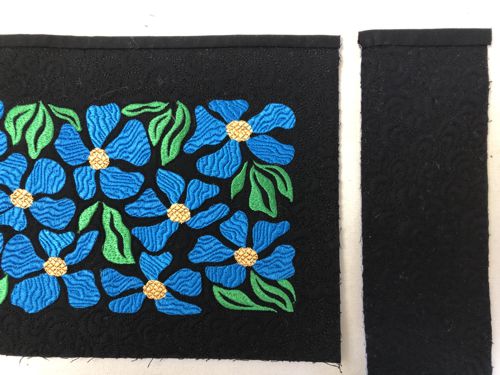
| Pin the strip to the front panel, right side to right side. Align the edges. |
|
Stitch the panel and the strip together, seam allowance 1/2".
|
|
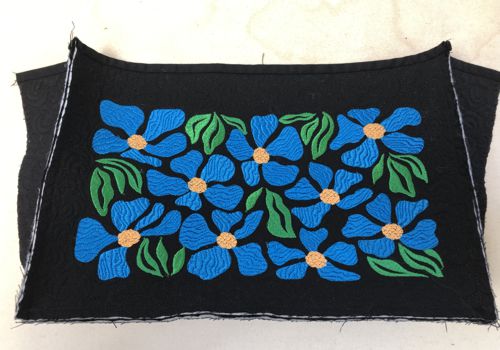
| This is how the front panel and side strip stitched together look from the wrong/lining side. |
|
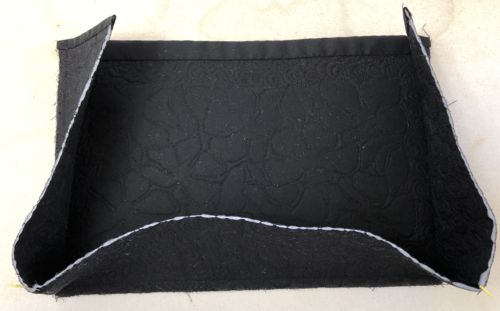
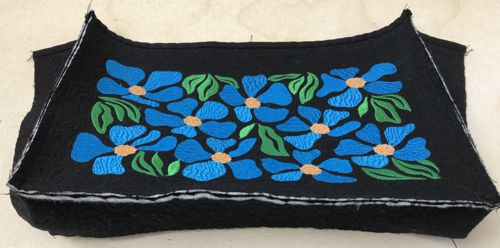
| This is how the front panel and side strip stitched together look from the bottom side. |
|
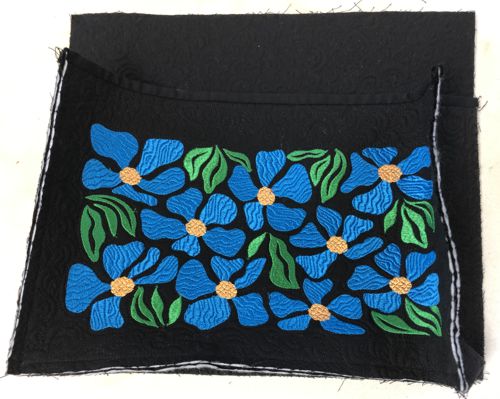
Now, starting from the bottom edge, wrong side to wrong side, pin the back panel to the side strip.
Stitch.
|
|
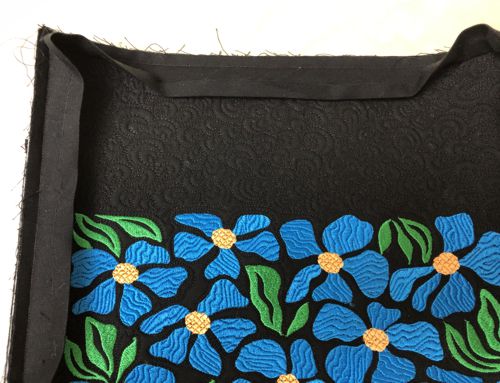
Finish the raw edges with the binding: fold one of the long edges 1/2" back and press. With right sides and raw edges together, pin the binding around the raw edges of the back panel. Stitch with seam allowance 1/2". Unfold the binding and press. Fold onto the wrong side, press again. Sew in place by hand.
In the same way finish the raw edges of the front panel. Press.
|
|
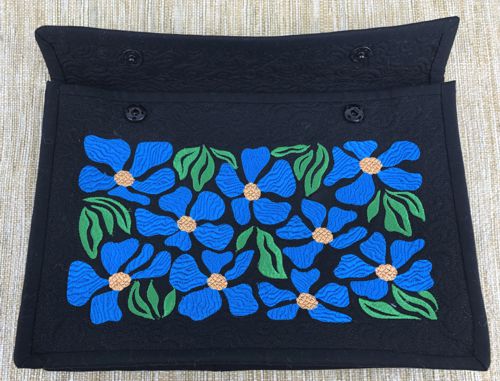
Fold the protruding upper part of the back panel over the front panel to make a flap. Press.
Sew 2 snaps onto the folded edge. |
|
| Have fun! |
|
|
Back to Art Nouveau Flower Panel Set
|
Back to Projects Page
|
