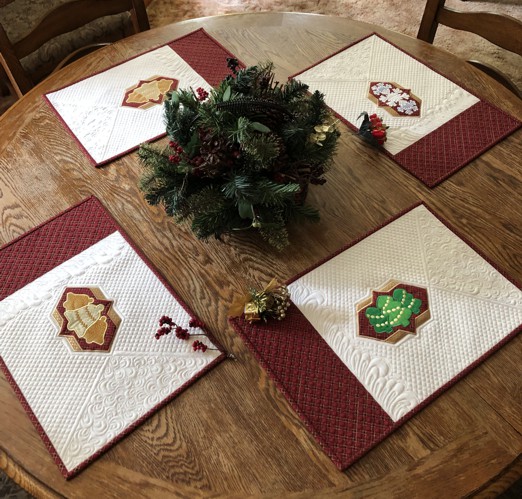
Create festive placemats that will bring holiday cheer to your table! This tutorial guides you through sewing, quilting, and adding holiday-themed appliqué with machine embroidery. Whether you're a beginner or more experienced, these placemats are a great project to add a handmade touch to your holiday décor.
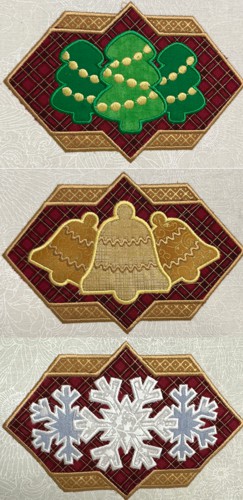
We used the designs from the Christmas Applique Set (all designs fit a large hoop, 5" x 7").
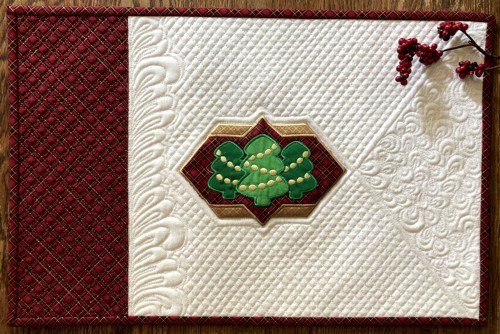
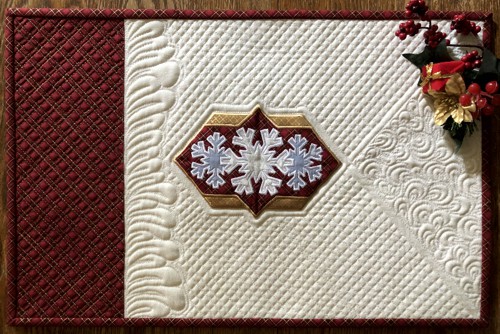
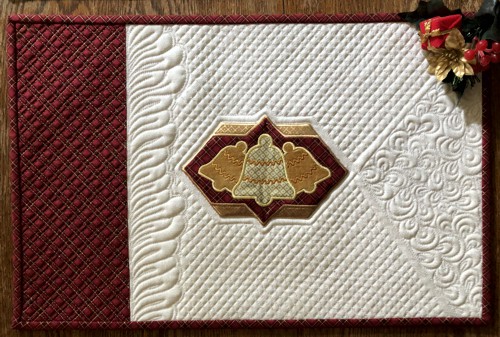
The finished size of each placemat is about 12" x 18 1/2".
|
|
You will need :
- embroidery threads either polyester or rayon;
- about 1 yard of off-white fabric for the main part;
- about 1 yard of Christmas-themed fabric for the borders, binding and applique;
- small amounts of cotton fabrics of different colors for the applique;
- fabric for the backing;
- light-weight cut-away embroidery stabilizer;
- batting;
- quilter's ruler;
- rotary cutter;
- applique scissors;
- iron;
- #12 universal needle;
- quilting threads (black and variegated in jewell tones);
- #12-#14 quilting needle.
|
Cutting:
|
| Out of the off-white fabric, cut 4 pieaces measuring 13" x 15" each. |
Out of the Christmas-themed fabric, cut 4 pieces measuring 4 1/2" x 13" for the borders.
Use the remaining fabric for the applique and binding.
For the binding you will need 7 strips measuring 2 1/2" and 40" long. |
Assembly:
|
| Note: seam allowance is 1/4" if otherwise recommended, press the seam immediately after you make it. |
Sew the Christmas-themed strips to the left edge of the off-white panels.
|

|
| Embroidery |
Upload the files of the Christmas Applique Set to the embroidery machine. Read the instructions to the set carefully. Prepare the applique fabrics.
Select threads. Stabilize the center of the off-white part.
Hoop the fabric tightly and embroider the designs.
Remove the excess stabilizer.
There are 3 designs in the set, repeat one of the designs on the fourth placemat.
|
|
Quilting and Finishing
|
Now place the backing on a flat surface (table) face down. Cover with batting. Spread your working piece over it.
Pin all layers together.
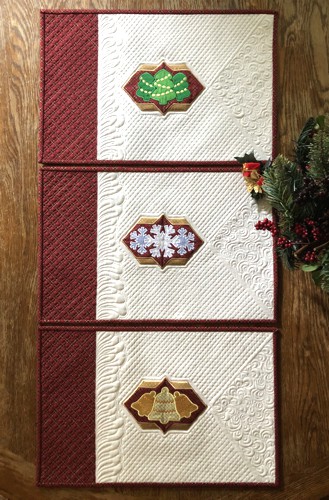
We quilted in a free-motion style all over the working piece. Start from the central part, and echo-quilt the emboidery first.
|
|
Press with heavy steam. Trim to 12" x 18" and simultaneously square each piece - all angles should be 90 degrees and opposite sides of the same length.
Finish the raw edges with the binding. |
|
|
|
| Have fun! |
|
Back to Christmas Applique Set
|
Back to Projects Page
|
