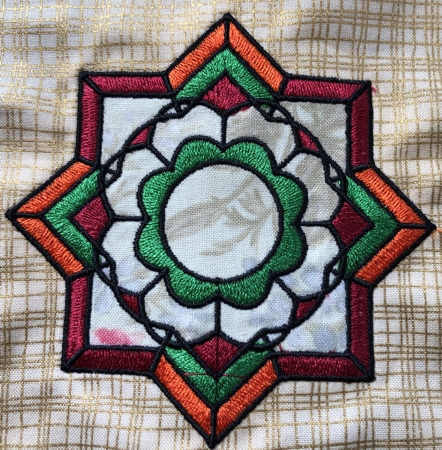
These are instructions on how to embroider the designs from the Mandala Applique Set.
|

|
You will need :
- embroidery threads, either polyester or rayon, feel free to chose your own colors,
- base fabric,
- fabric for the applique,
- light-to-medium-weight cut-away embroidery stabilizer,
- applique scissors.
|
Embroidery
|
| All files in the set are embroidered in the same way. |
| Step 1: Hoop your base fabric stabilized with cut-away stabilizer. Upload any file from the set into the machine. Start the machine. The first color will embroider the outline of the applique fabric placement and stop. |
Step 2: Cover the outline with applique fabric. Start the machine. It will embroider the same outline over the fabric and stop.
|

|
| Step 3: With a pair of sharp scissors, cut away the excess applique fabric around the outline. Cut as close to the stitches as possible, take care not to cut through the stitches. |

|
Step 4: Embroider the designs to the end, there will be 4 color changes:
- 3 colors will fill in the mandala motif,
- black will make distinctive borders between and around the colored parts of the motif .
|

|
Have fun!
|

|

|
|
Back to Small Mandala Applique Set.
|
Back to Projects Page
|
