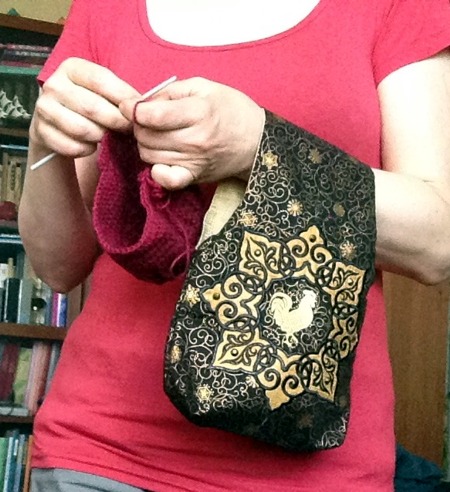
These are instructions on how to embroider the Mandala with Rooster Applique.
The design is available in 3 sizes: for the large hoop (5" x 7"), mega hoop (6" x 10") and commercial hoops (over 8" x 10").

| Large Hoop: Size: 129 x 130 mm Stitches: 17456 Colors/Stops: 4/5 |
Mega Hoop: Size: 169 x 170 mm Stitches: 22731 Colors/Stops: 4/5 |
Commercial Hoop: Size: 199 x 199 mm Stitches: 26811 Colors/Stops: 4/5 |
You will need
Embroidery:
Step One: Stabilize the base fabric and hoop it. Upload the file into your machine.
Start the machine. The first color will embroider the outline of the design on the base fabric.

Step Two: Cover the outline with the stabilized applique fabric. Start the machine. It will embroider the same outline over the applique fabric.


Step Three: With a pair of sharp scissors, cut away the fabric around the outline as close to the stitches as possible. Take care not to cut through the stitches.
Step Four: The next color will embroider the center of the mandala. You have 2 choices here - you can either cut away the fabric from the center or leave it there.


Step Four: This color embroiders the mandala motif. Choose a color appropriate for your project.

Step Five: The last color embroiders the rooster. Again, you can choose any color you like, or omit this step.


We made a hand pouch for knitting/crochet projects which you can carry on your arm. You can read about how to sew the pouch on the project page.

Enjoy!