These are instructions on how to embroider the designs from the Buttefly Applique Set.
 |
Butterfly 1: Stitches: 2150 Size: 67.5 x 37 mm (2.65" x 1.4") Colors: 3/3 Butterfly 2: Stitches: 2902 Size: 68.7 x 59 mm (2.7" x 2.32") Colors: 3/4 Butterfly 3: Stitches: 1508 Size: 52 x 26 mm (2" x 1") Colors: 3/4 Butterfly 4: Stitches: 4310 Size: 79.5 x 80.4 mm (3.12" x 3.16") Colors: 3/5 Butterfly 5: Stitches: 3296 Size: 65.9 x 52.8 mm (2.59" x 2.07") Colors: 3/6 Butterfly 6: Stitches: 4551 Size: 99.8 x 73.7 mm (3.9" x 2.9") Colors: 3/7 |
You will need
Embroidery:
All six designs are embroidered in the same way.
Upload the first file into the machine. Hoop the stabilized base fabric (or watersoluble mesh for freestanding applique). Start the machine. It will embroider the outline of the butterfly and stop.

Cover the outline with a piece of fabric and start the machine again. It will embroider the same outline again.

With a pair of sharp scissors cut away the fabric around the outline.

Return the hoop to the machine and finish the embroidery. Change threads if you like. We used batiks as applique fabric and did not change threads - all our stitch-outs are in black. Here are the results.

If you are making freestanding stitch-outs, cut away the water-soluble mesh as close to the stitch out as possible, then wash away the remainder in a bowl of lukewarm water. Change the water several times. Spread the stitch-outs to air dry, to make sure they dry flat.
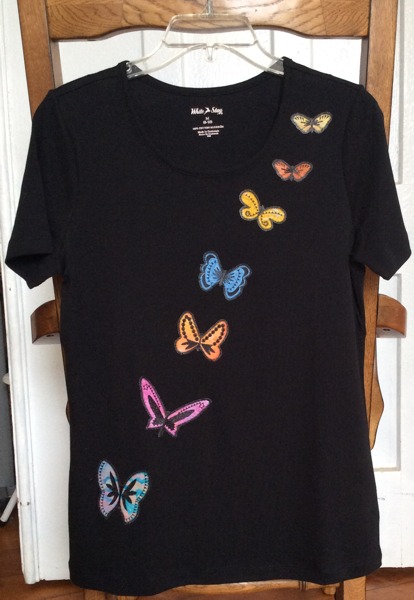
We used freestanding stitch-outs to embellish a T-shirt. You can read about this on the project page.

You can also decorate clothes for kids and dolls.

Still another idea is the summer-themed tablerunner. The instructions for the tablerunner will be available soon.

Enjoy!