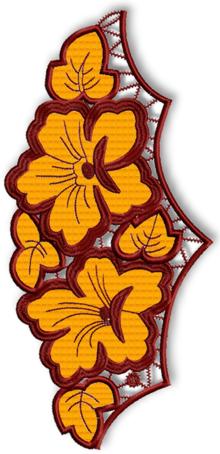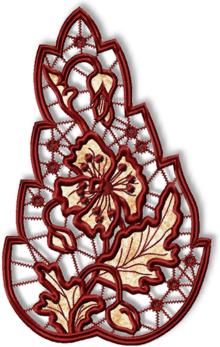
Some of our cutwork designs can be used as freestanding applique. One of the advantages of such designs is that you embroider the pattern separately and then incorporate it into a larger project - this eliminates the possibility of ruining your project if something goes wrong during embroidery.
Making cutwork on knits is very tricky. That's why the freestanding cutwork comes very handy.

For the project you will need:
For a T-shirt with a rounded neckline we chose the Cutwork Lace Daisy Corner design.

Embroider the design as described in the instructions.

Put the T-shirt on a dummy or on your model. It's very important, because the T-shirt will stretch and take the shape of the body. You need to position the lace on the T-shirt when it is stretched out. First pin the lace, then baste it in place.

Thread the needle with the same thread with which you made the embroidery. Use the thread the same color as the T-shirt in the bobbin. Using zig-zag stitch, attach the lace to the T-shirt.

For the next project we used a t-shirt with a V-neckline and the Cutwork Lace Square Border design.

Embroider the design 3 times. Do not dissolve the stabilizer. Using the same thread with which you made the embroidery, stitch together the short sides of the designs using zig-zag stitch, as shown below.
Then wash away the stabilizer, leave the yoke to air dry. Press.
Put the T-shirt on a dummy or model, and pin and baste in place.

Thread the needle with the same thread with which you made the embroidery. Use thread the color of the T-shirt in the bobbin. Using zig-zag stitch, attach the lace to the T-shirt.

Here are the results.

For the pink t-shirt, we used the Valentine Heart Cutwork Lace design. Sew it in the same way as the first T-shirt.


To find out whether a particular design can be used for a project like this, read the online instructions. They will mention if the design can be embroidered as a freestanding applique or not. Here are some more designs which can be used for the project:
 |
|
 |
|
 |
|