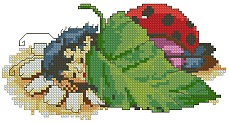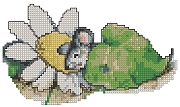

The finished size of the envelope is 12" high x 16" wide. You will need about 18" x 38" of fabric for the top, 18" x 38" of low-loft batting, 18" x 38" of fabric for the lining of the envelope, bias tape for binding; threads and stabilizer for embroidery.
Note: If you wish, you can piece both the top and the lining out of scraps of fabric. We did not have enough fabric of one pattern, so we made the top and the lining of two different fabrics each.
Step One: On the fabric that is going to be used for the top, make the embroidery in the center at one of the ends (see the diagram below; X marks the spot for the embroidery).

Step Two: Take away the stabilizer. Press the embroidery through a pressing cloth. On an even surface (table), spread the lining face down, cover it with the batting and cover with the embroidered top, face up. Pin all three layers together.

Step Three: Quilt this sandwich. We made stippling around the embroidery, then, using different decorative stitches from the machine, quilted all over the piece in a "crazy" style. Press with heavy steam.

Step Four: Square your working piece - make sure that all corners are 90 degrees and all opposite sides are of the same size. The short sides should be about 16" and the long sides about 36".
Step Five: Using a round ruler, (if you do not have one, use a lid from a tin box or a plate), round the two corners of the working piece that are closest to the embroidery.

Step Six: Finish the raw edges with the bias tape. Press.
Step Seven: Place the working piece on a table, face down, and fold 13" of the end without the embroidery over (1 and 2 in the picture). Machine stitch both sides (picture 3).


We used the design of a Sleeping Gnome. We have more "sleeping" designs in our Catalog that might be used in this project:
 |
 |