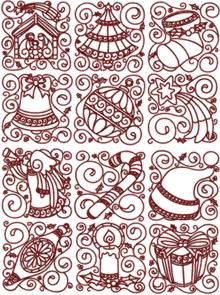
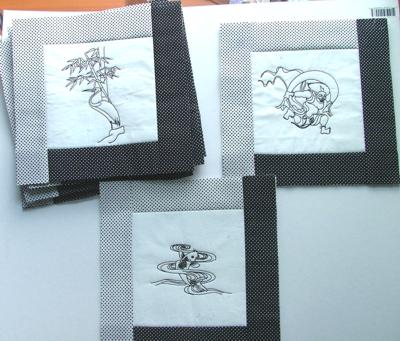
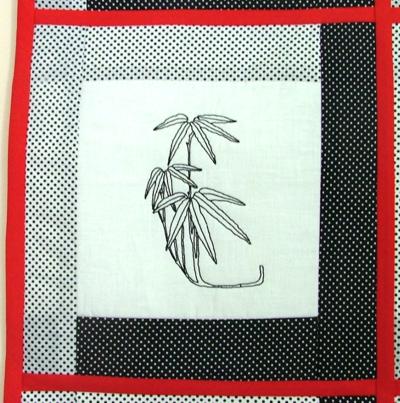
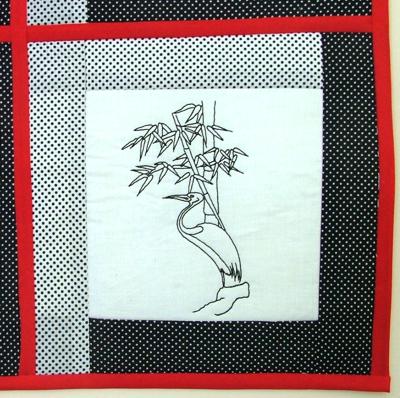
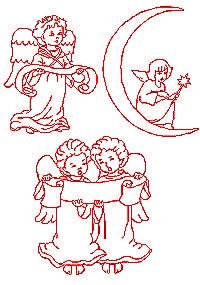
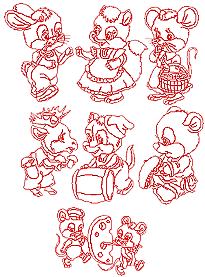
These are instructions for making a lap quilt with the designs from the Japanese Redwork Set. This is a very elegant and very simple project to do, even if you don't have much quilting experience.

You will need a square of of plain white cotton fabric measuring 32"x32", white black-dotted cotton fabric measuring about 48"x10", black white-dotted cotton fabric measuring about 48"x10", fusible low loft batting measuring 32"x32", cotton fabric for backing (either white or black) measuring 30"x30", tulle measuring 32"x32", 120" of scarlet single fold bias tape and 120" of scarlet wide single fold bias tape.
Step One: On the white cotton fabric draw 9 squares measuring 10" x 10" each. You should have 2" of fabric left all around the edges. This is need for hooping the fabric later. Mark the centers of the squares with pins -- we will not be washing this, so don't use marker! Chalk might be OK.
Step Two: On your ironing board, place tulle, cover it with batting and place the cotton fabric with the squares over it. Iron. Hoop so that the center of the first squaire is in the center of the hoop. Embroider the first design. Repeat until you have embroidered all 9 designs. After you embroider all the designs, cut out the squares.
Tip: Use #30 thread, the design will look more 3D.
Step Three: Out of each 48"x10" rectangle of the dotted fabric. cut 18 rectangles measuring 2.5" x 10" each. You should have a total of 36 rectangles and 9 embroidered squares.
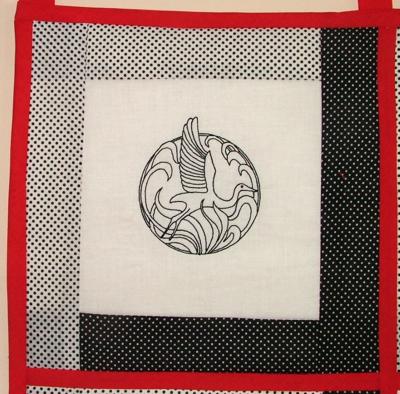
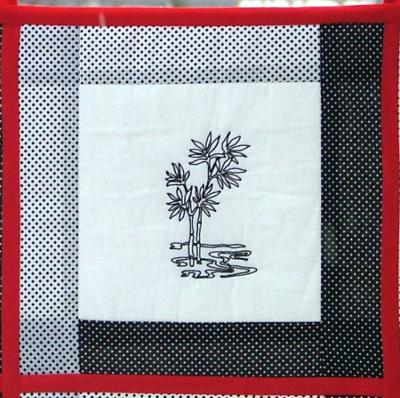
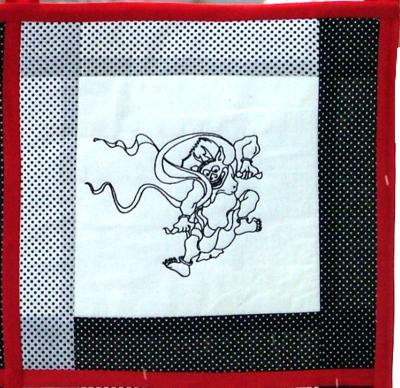
Step Four: Pin/or baste a white rectangle 2" from the top of each square and a black rectangle 2" from the bottom of each square. Machine stitch as indicated on the diagram by the red dotted line. The stitch should be 2.5" from the edge of the square. Fold out and iron. Repeat for the right and left side of each square.
Step Five: Arrange the squares in the order that you want them. Join them with a large zig-zag.
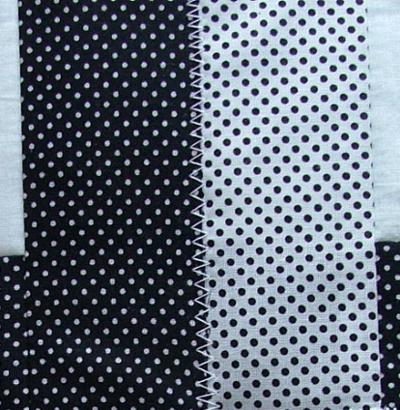
Step Six: On even surface (table) place the backing and cover it with the working piece. Pin the single fold bias tape over the zig-zag to cover it. Machine-stitch one side, sewing all layers together, and slip-stitch the other side.
Step Seven: Finish the raw edges with the wide single fold bias tape. Your lap quilt is ready. If you want to have a wall hanging, cut 4 loops out of wide bias tape and attach them to the top part of the quilt.

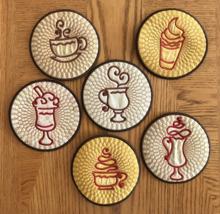
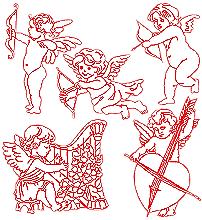
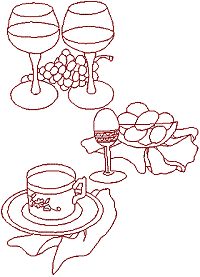
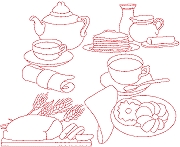
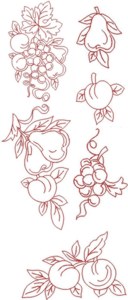
Here are some other designs that can be used to make an attractive and original towel topper to furnish your kitchen.
 |
 |
 |
 |
 |
 |
 |
 |
 |
 |