You will need: cotton suede with low pile, iron-on cut-away stabilizer, fusible adhesive tape and rick-rack tape.
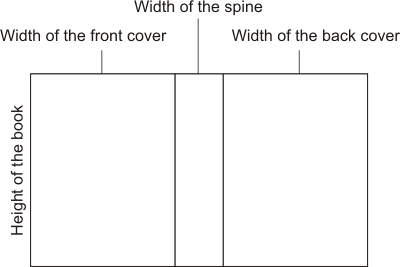
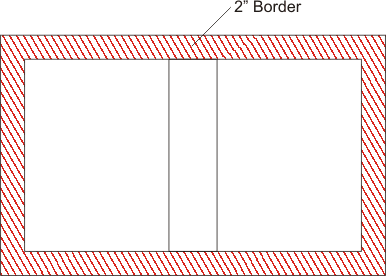
Step One: Make a layout directly on a piece of the stabilizer. First, draw a rectangle that has the same height as the Book and the same width as the width front cover, spine and back cover combined. See the diagram below.
Step Two: Add 2" to each side.
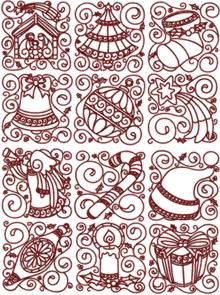
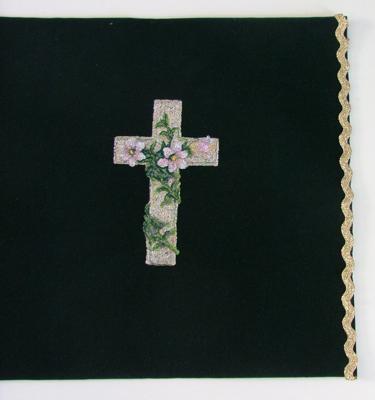
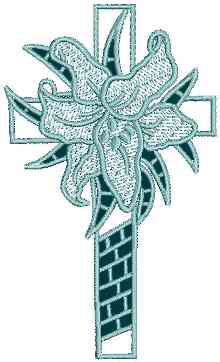
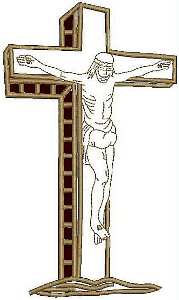
Step Three: Cut out your layout, iron it onto the fabric and cut out again. Mark the place where the embroidery will be. Hoop the fabric and embroider the Easter Cross design. When the embroidery is ready, press with steam from the reverse side. Steam will help get rid of the marks left by the hoop.
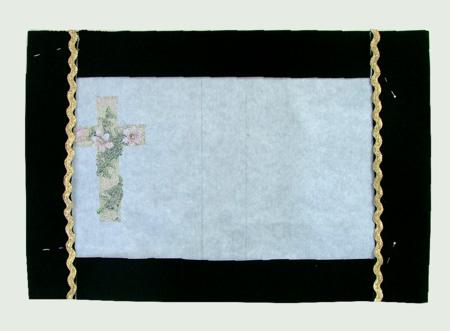
Step Four: Place the working piece, face down, on a table. Fold back the upper and the lower edges by 1 1/2". Secure with pins. Place the adhesive fusible tape under the folds and press to melt the tape.
Step Five: Turn the working piece face up and finish the side edges with rick-rack tape. Fold the edges of the tape to the reverse side.
Step Five: Turn the working piece face down again. Fold back the side edges tape by 2" and secure with pins.

Machine-stitch along the upper and the lower edges, about 1/8" from the edge, attaching the folds. Use either metallic or invisible thread.
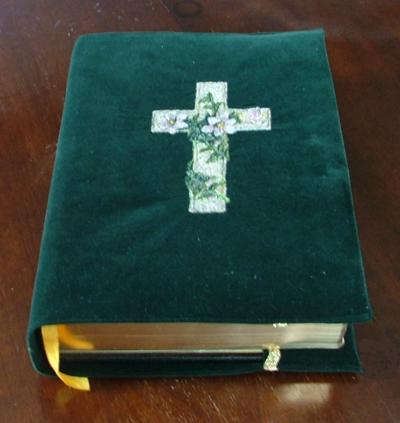
The cover is ready. You can now put it over the Book.

 |
 |