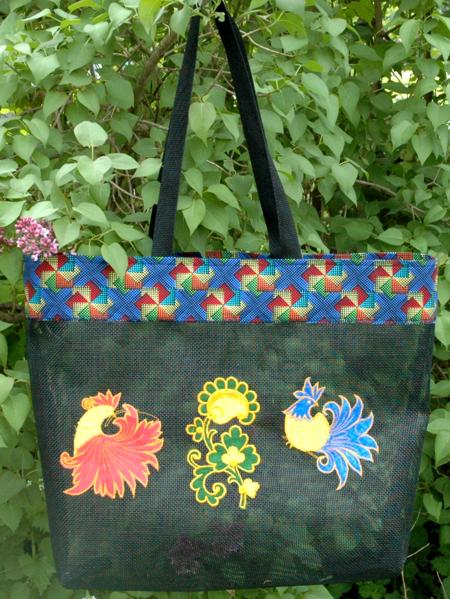
These are instructions on how to embroider the designs from the Fairy Tale Birds Applique Set.
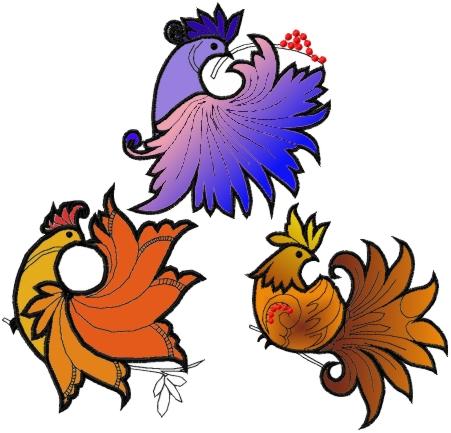
You will need:
Upload the design into your machine. The machine will show 9 colors in the design.
Hoop the base fabric with stabilizer. Prepare 4 scraps of differently colored fabrics.
The first color will embroider the shape of the comb. Place a scrap of fabric over the shape and start the machine again. The second color will embroider the same shape of the comb over the applique fabric and stop.
Take the hoop from the machine and caut away the fabric around the shape as close to the stitches as possible. Beware to not cut through the stitches.

Colors 3-4 are for the applique of the bird's body.
Color 3 will embroider the shape of the bird's body and stop. Place a scrap of fabric over the shape and start the machine.
Color 4 will embroider the same shape again. Take the hoop from the machine and with a pair of sharp scissors cut away the fabric around the shape as close to the stitches as possible. Beware to not cut through the stitches.

Color 5 embroiders the outline of the wing. Place a scrap of fabric over the outline.
Color 6 embroiders the same shape of the wing over the fabric. Cut away the excess fabric after this color.

Color 7 embroiders the outline of the second wing and tail. Place a scrap of fabric over the outline.
Color 8 embroiders the same shape of the wing and tail over the fabric. Cut away the excess fabric after this color.

Color 9 will finish the edges of the applique. You can choose any bright contrasting color appropriate for your project.

There are 8 colors in the design. Colors 1-6 are for the applique, and you do not need to change thread for these steps. 3 scraps of fabrics are used.
The first color will embroider the shape of the comb. Place a scrap of fabric over the shape and start the machine again. The second color will embroider the same shape of the comb over the applique fabric and stop.
Take the hoop from the machine and caut away the fabric around the shape as close to the stitches as possible. Beware to not cut through the stitches.

Color 3 embroiders the outline of the bird's neck. Place a scrap of fabric over the outline.
Color 4 embroiders the same shape of the neck over the fabric. Cut away the excess fabric after this color.

Color 5 embroiders the outline of the bird's wing. Place a scrap of fabric over the outline.
Color 6 embroiders the same shape of the wing over the fabric. Cut away the excess fabric after this color.

Color 7 finishes the raw edges of the applique. Choose thread appropriate for your project.
Color 8 embroiders berries.


There are 8 colors in the design. Colors 1-6 are for the applique, and you do not need to change thread for these steps. 3 scraps of fabrics are used.
The first color will embroider the shape of the tail. Place a scrap of fabric over the shape and start the machine again. The second color will embroider the same shape of the tail over the applique fabric and stop.
Take the hoop from the machine and caut away the fabric around the shape as close to the stitches as possible. Beware to not cut through the stitches.

Color 3 embroiders the outline of the bird's body. Place a scrap of fabric over the outline.
Color 4 embroiders the same shape of the body over the fabric. Cut away the excess fabric after this color.

Color 5 embroiders the outline of the bird's neck, head and comb. Place a scrap of fabric over the outline.
Color 6 embroiders the same shape over the fabric. Cut away the excess fabric after this color.

Color 7 finishes the raw edges of the applique. Choose thread appropriate for your project.
Color 8 embroiders berries.


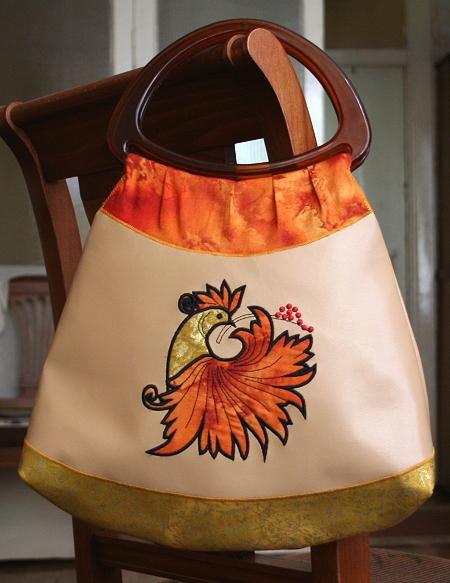
We used the designs to embellish a hand bag. This is one side of the bag.
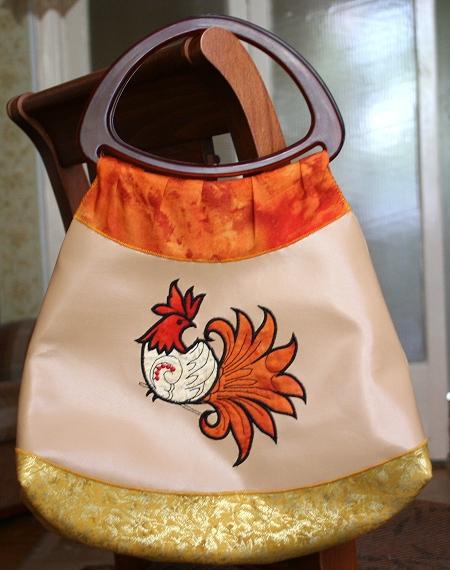
This is the other side of the bag.
We also used the designs on the Double Friendship Star Quilt with Fancy Bird Applique
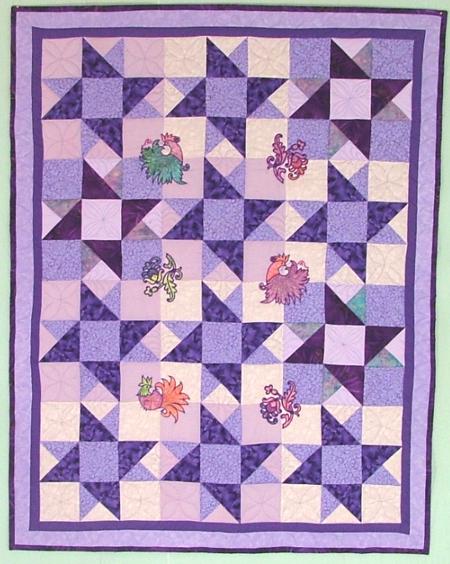
and on one of our Plastic Mesh Tote Bags.
