
Some points to remember from the General Guidelines:
Use Vilene water soluble stabilizer;
Use the same thread for the upper and bobbin to get two-sided embroidery.
DO NOT embroider several designs in one hoop.
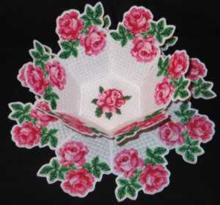
These are the instructions on how to assemble the Swan Bowl with Organza Doily from our catalog. Along with the embroidery files, you will get the color card, which will help you to select the threads, and also sort out the many parts of the design.
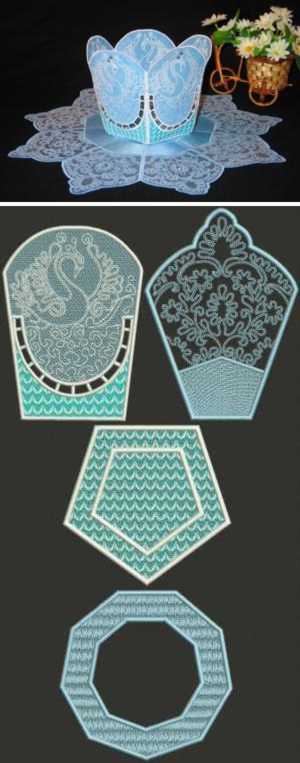
Step One: To make a bowl, you'll have to embroider five bowl panels and the pentagon as the bottom. The bowl panel is the one in the upper left corner of the picture. The bowl bottom is in the second row, just under the panel.
Use 2 layers of Vilene-type water-soluble stabilizer; use the same thread for both the needle and bobbin to get 2-sided embroidery. After finishing the embroidery cut away the excess stabilizer.
Rinse the stabilizer and leave to air dry.
Step Two: Press all parts with steam. To decorate the bowl with crystals, follow the instructions of the manufacturer. Usually the crystals have to be ironed on.

Step Three: Sew the bowl's panels and bottom together with invisible thread. Read instructions on how to do this in our Guide to Assembling a Freestanding Bowl.

Step Four: To make a doily, you'll have to embroider nine doily panels and the doily center. The doily panel is in the upper right corner of the picture. The doily's center is in the bottom row.
Sandwich a layer of organza between two layers of Vilene-type water-soluble stabilizer. Hoop all three layers together.
For the doily, you can use white bobbin thread as it doesn't have to be two-sided.
Trim the jump stitches, rinse the stabilizer and leave to air dry. Press with steam and stitch the parts together using invisible thread. Decorate with crystals.


 |
|
 |
|
 |
|
 |
|